
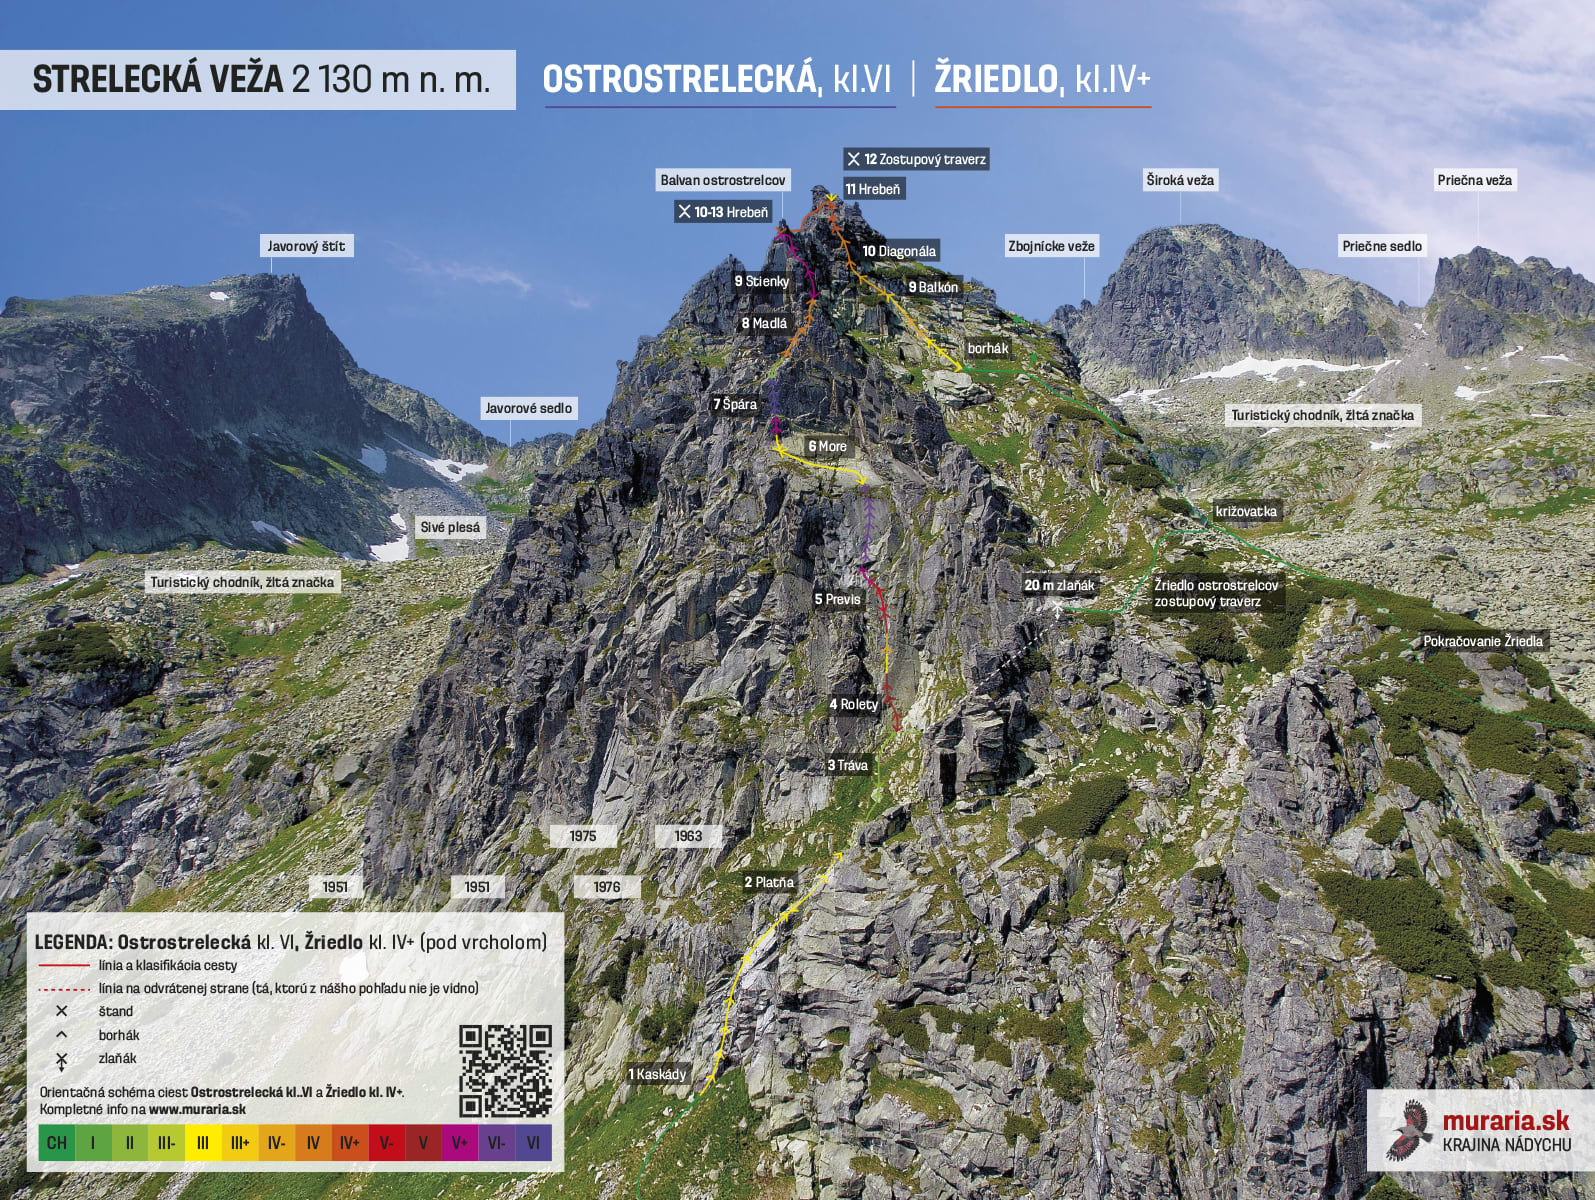
Ostrostrelecká, grade VI, Strelecká veža 2130 m
In memory of Squadron 13 and all fighters for Slovakia's freedom.
Characteristics
A very varied, excellently protected route on solid, beautiful rock
A line running predominantly up slabs. It finishes on a pillar and then follows a ridge to the summit. It asks a climber to show what they've got not just on slabs, but on overhangs, cracks, traverses, and ridges too. Options for your own protection are limited. You place gear only sporadically, but a tiny, medium, and large cam, plus slings, come in handy. Bolts sit at spots where you can't place your own protection, or where the difficulty peaks.
A chance for a grade-five climber to get a taste of a Tatra six
The climb varies in difficulty too. Thanks to that, it can be climbed on-sight, trading leads, even with a climbing partner whose Tatra performance ceiling doesn't exceed grade five. Since the easier pitches, No. 4 and No. 8, are matched in beauty by the harder No. 5 and No. 7, no one on either end of the rope misses out on anything. The route has two crux spots. The first is an overhang on the fifth pitch, the second a slightly overhanging small wall on the seventh pitch. Both spots can, with a certain amount of personal grit, be technically "hangdogged" past (A0) if the climber is carrying cams. Every anchor sits on two stainless-steel bolts connected by a chain.
A south-facing wall, an easy and safe descent
The descent from the summit is on walking terrain, joining the yellow-marked hiking trail after 10 minutes, near Sivé plesá. You can rappel the whole route without complications. The route is usually wet in spring until all the snow melts off the large green slab on the sixth pitch.
For beginners in the Tatras, climbing Michael's Wing on Anjelský hang serves as the "qualifier" for taking on Ostrostrelecká. The Cez krídlo variant counts too.
Ostrostrelecká combined with Žriedlo brings interesting combinations:
- Ostrostrelcká cez Žriedlo, grade VI, 18+ pitches, Strelecká veža 2130 m This Tatra mountaineering epic is created by climbing the Žriedlo route up to the source of the waterfalls and then joining onto the third pitch of the Ostrostrelecká route.
From there we continue as on the Žriedlo route. At roughly 2000 metres of elevation there's a junction. Toward the Žriedlo-to-Ostrostrelci variant we continue left, to the southwest. The direction of the descent is marked by quartz pebbles on cairns. We reach the rappel station. It's a piton connected by a chain to a glue-in bolt with a "ram's head." From there you can see the anchor bolt for the fourth pitch of Ostrostrelecká. It's an ideal spot to survey almost the whole route. A 40-metre rappel gets us straight down to this anchor bolt. With a shorter rope, after 15 metres of rappelling down the wall and an overhang, we reach the anchor on foot (grade I). The terrain is a gully filled with rocks, and lower down, steep grass. You can downclimb the whole gully to the anchor (grade II) without rappelling too. From the source to the rappel station takes 15 minutes.
- Ostrostrelcká cez Cieľnik, grade VI, 12 pitches, Strelecká veža 2130 m The most direct combination of the two routes mentioned. It's created by climbing Nižný strelecký vodopád (the first three pitches of that route). From the top of the waterfall we reach the start of Ostrostrelecká on walking terrain in 15 minutes. A beautiful, logical variant of Ostrostrelecká. If we want to climb up to Balvan ostrostrelcov, this option lets us climb the easy pitches with a pack, but the harder ones without it.
Approach via Veľká Studená dolina (2 h):
From Hrebienok, first via the red trail markers, then the blue ones, all the way to Brána. Right past the metal footbridge over Veľký Studený potok, we turn right. We follow an unmarked little trail alongside the stream, and after 7 minutes cross the stream on rocks, at a point where there's a cairn standing on a boulder on the other side. Just past the stream we cross a short stretch over rocks and continue again via switchbacks toward Nižné studené pleso. Level with the tarn we find a trail fading into the dwarf pines (a turnoff to the right), and follow it 2 minutes to the tarn. Along the west shore of the tarn we reach a large stone moraine and climb it to the point where it rises highest. We cross the last hundred metres on grass. Here the start of the route is marked with cairns. The first four bolts are clearly visible.
The approach from Brána is convenient for those staying at Zbojnícka chata. On the route from Hrebienok, the more interesting variant is via Cieľnik (1:45 h). On the final switchback of the blue trail leading to Brána, we leave the marked trail before the first boulder field and turn 150 degrees to the right. From there we walk for a while along a chamois path marked with quartz pebbles, up to the moraine (cairns) leading below the waterfall. The route is marked on the mapy.com portal. A detailed description of the approach is given with the Žriedlo route.
Route description
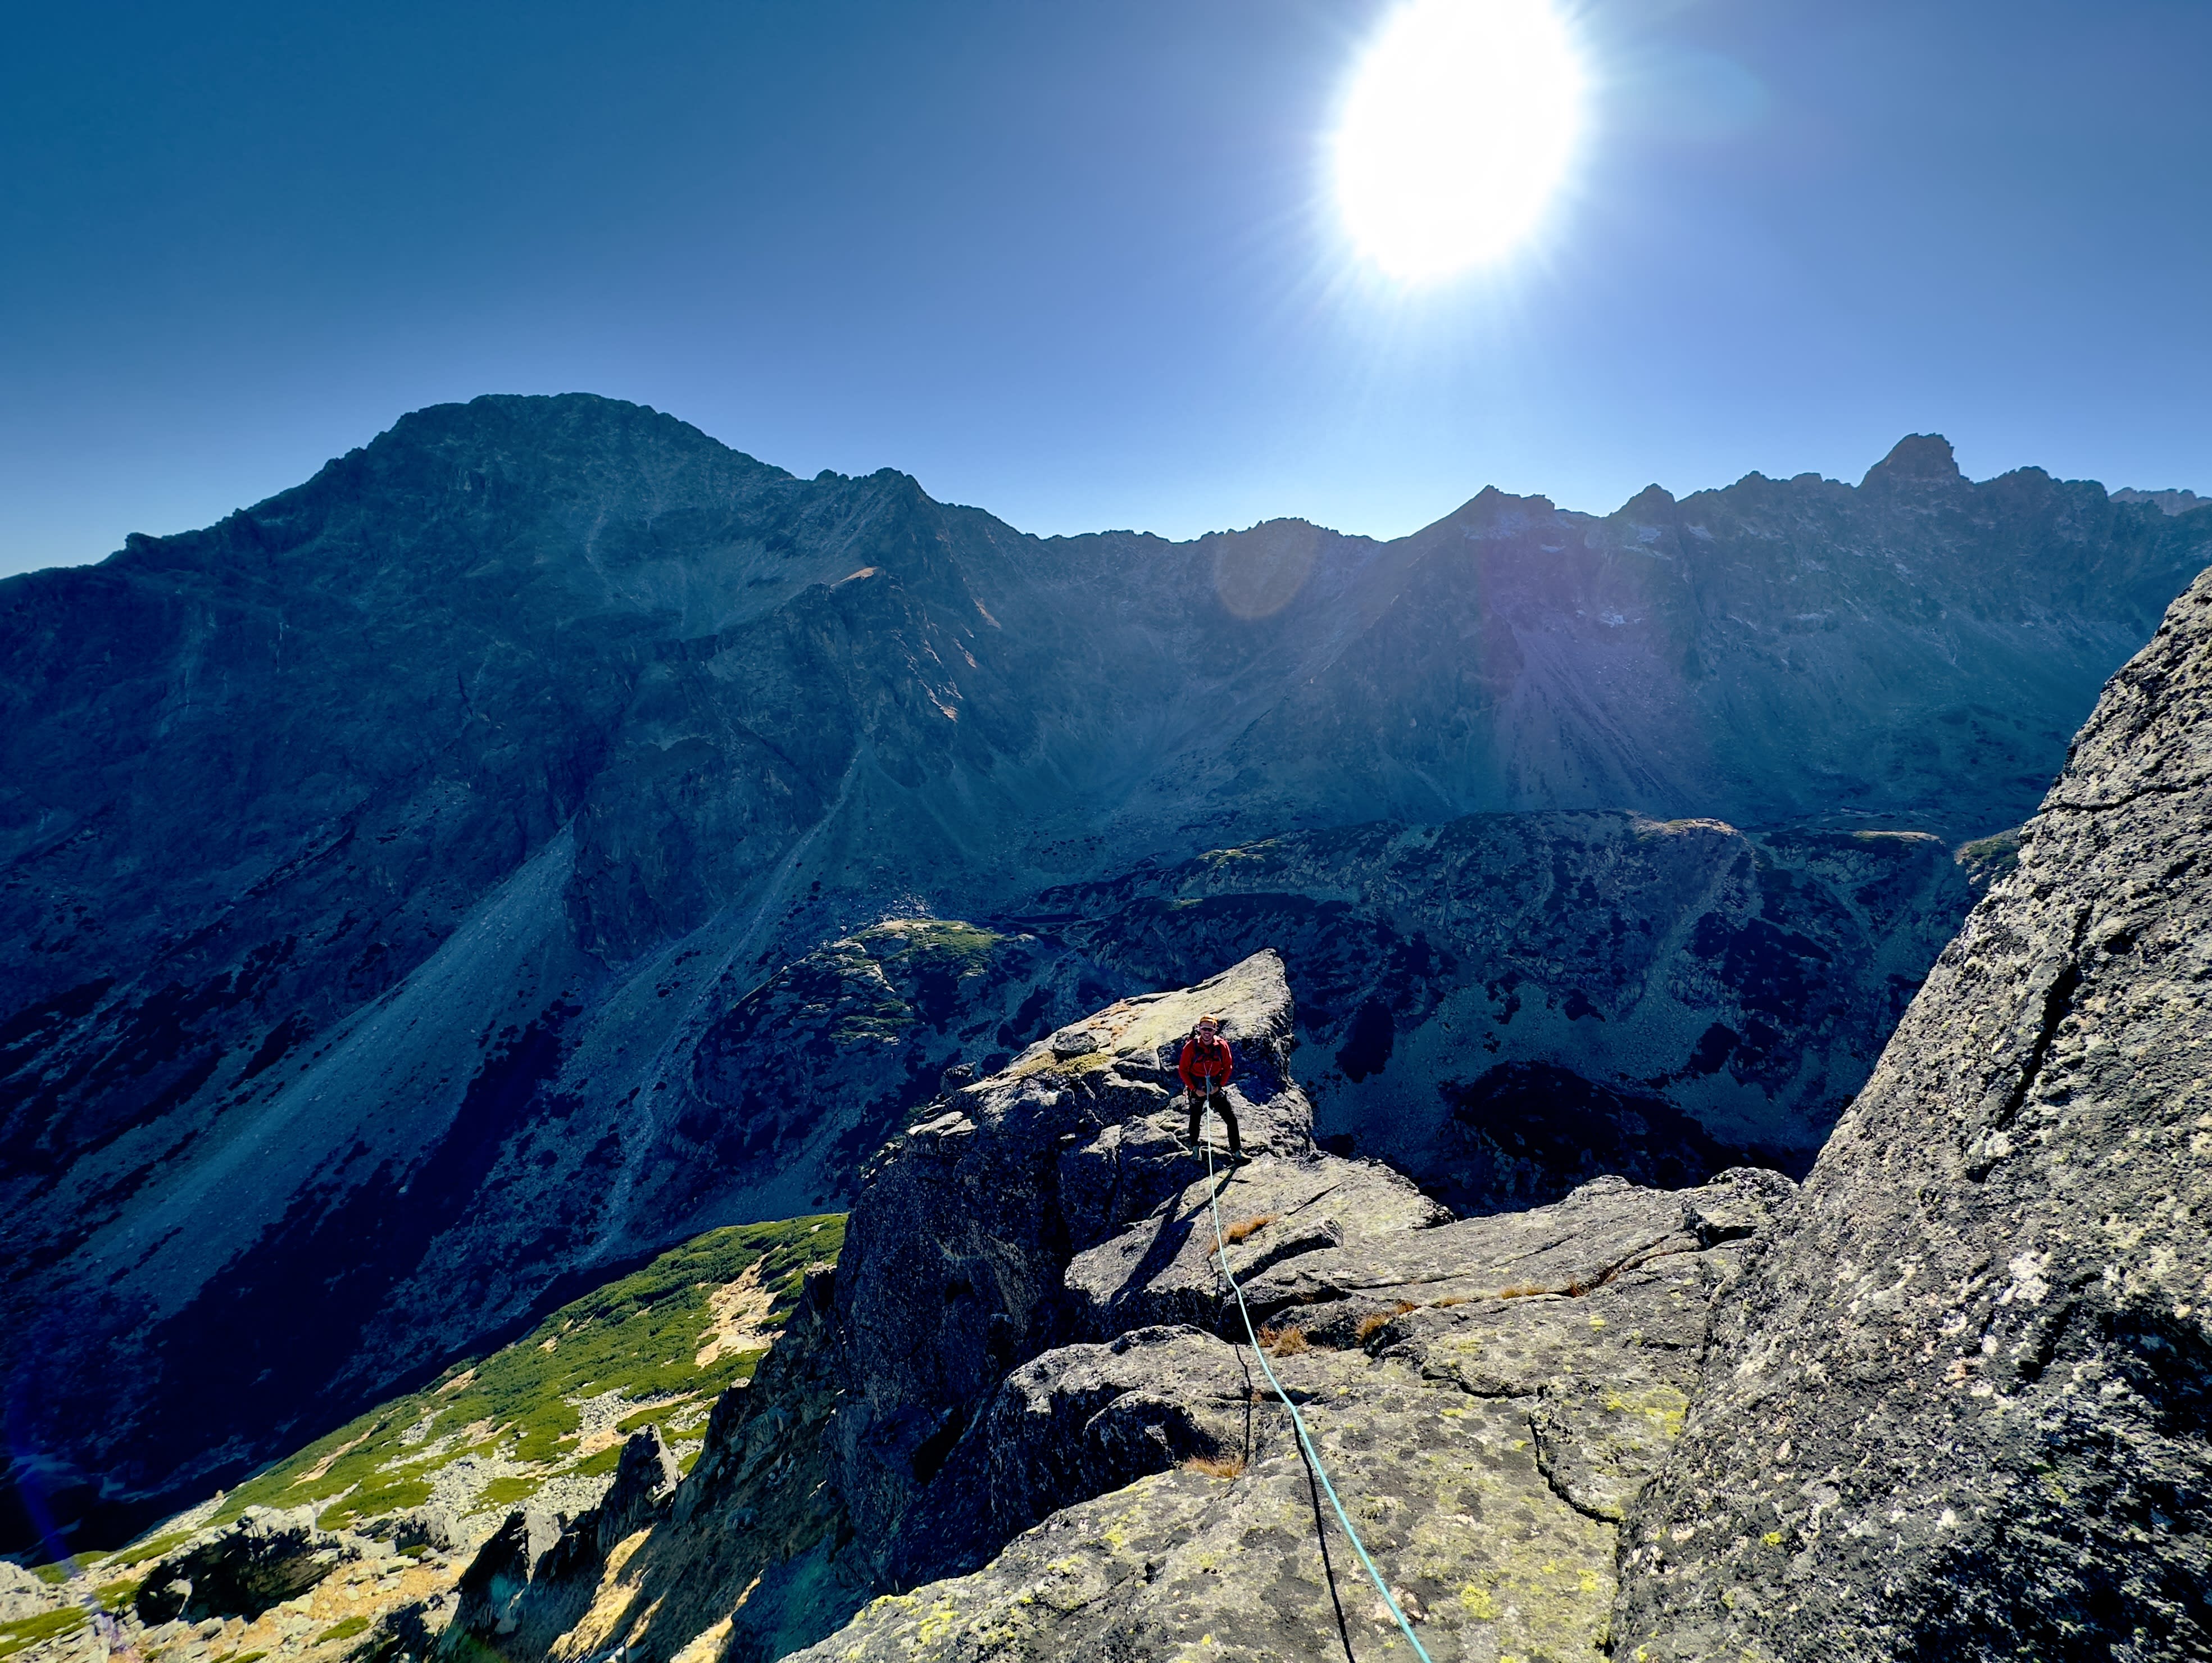
Pitch 1, Cascades, grade III, 35 m, 5 bolts
Up cascades through B1 to B3, to a small wall (B4). From there straight up and up a slab (B5) into a little chimney where the anchor sits. The line is obvious thanks to the visible bolts. Climbers can see each other. The anchor isn't visible from the start.
Pitch 2, Slab, grade III, 25 m, 2 bolts, 1 piton
Up slabs to the right of the anchor, to a terrace (12 m, grade III, B1, B2). Here there's a piton in a small wall. From it, left over rocks and grass (grade I) to a lone boulder sticking out of the grass, where the anchor sits. Climbers can see each other. The anchor is visible.
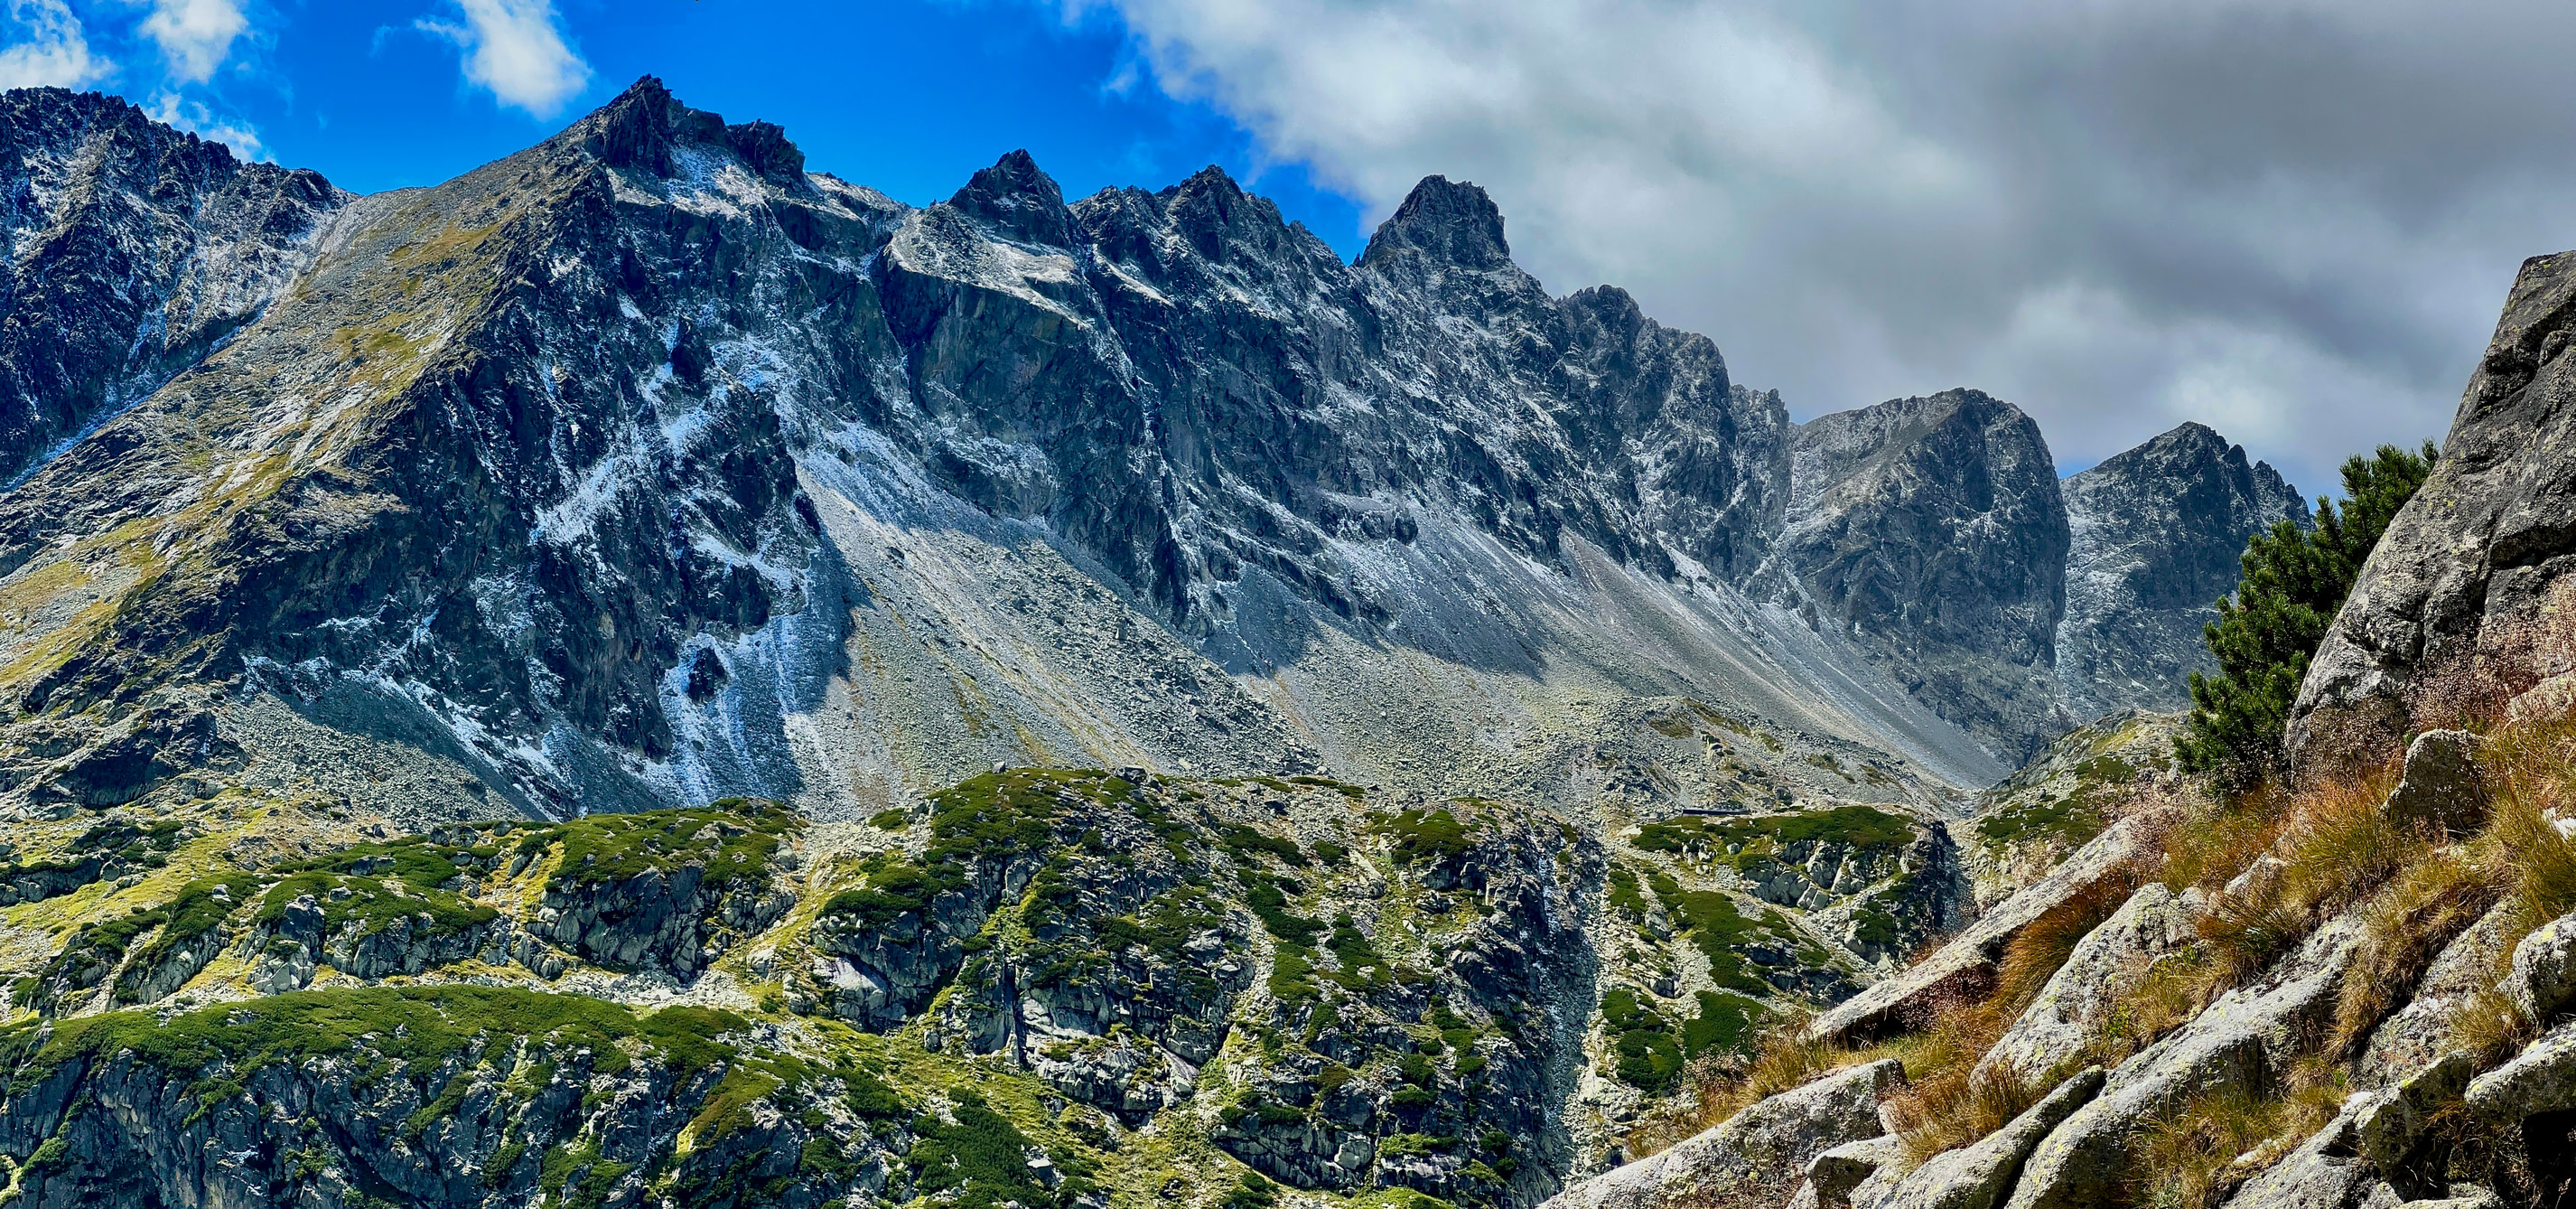
Pitch 3, Botanical, grade CH, 20 m
Up steep grass, left below a small wall to a diagonal grassy platform. Roughly in the middle of the lower part of a large slab is the anchor bolt. Climbers can see each other. The anchor is visible.
Pitch 4, Shutters, grade V, 30 m, 5 bolts
From the belay bolt you can see three protection bolts above it. Up a slab through B1 and B2, then a small crack (purple F) to B3 (V+). At B3 we swing left around the arête. From there via cascades with little tufts of grass, 5 m, to B4 (III), and then just rock to B5. We find it on a small wall to the left of a distinct corner (IV). Through this small wall, cut by a crack (a large cam), across granite "shutters" resembling a sandy sea floor, to a comfortable anchor (V-). Climbers can see each other up to B3. The anchor on the rock ledge isn't visible from the start.
Pitch 5, Overhang, grade VI-, 33 m, 10 bolts
Up a small wall, 6 m, to B1. From there right and up over an arête into a grassy channel (IV+). We cross it and continue up a small wall (B2, V+). Above B2 we pull slightly left, feet on a good diagonal ledge, and go around the overhang above us. On its left side we discover an invisible "Jesus bolt," B3. Through a small corner (purple F) across the overhang, then slightly right into a slab (VI-). From there it's another 20 metres of pure slab play and dance-like movement (B4 to B10, V+/VI-). The anchor sits on a small rock ledge gently decorated with heather. Except for the crossing move in the channel, climbers can see each other. The chain at Anchor 2 isn't visible from Anchor 1, but the anchor spot itself is. Long quickdraws are needed for the first four bolts!
Pitch 6, Sea, grade III, 19 m
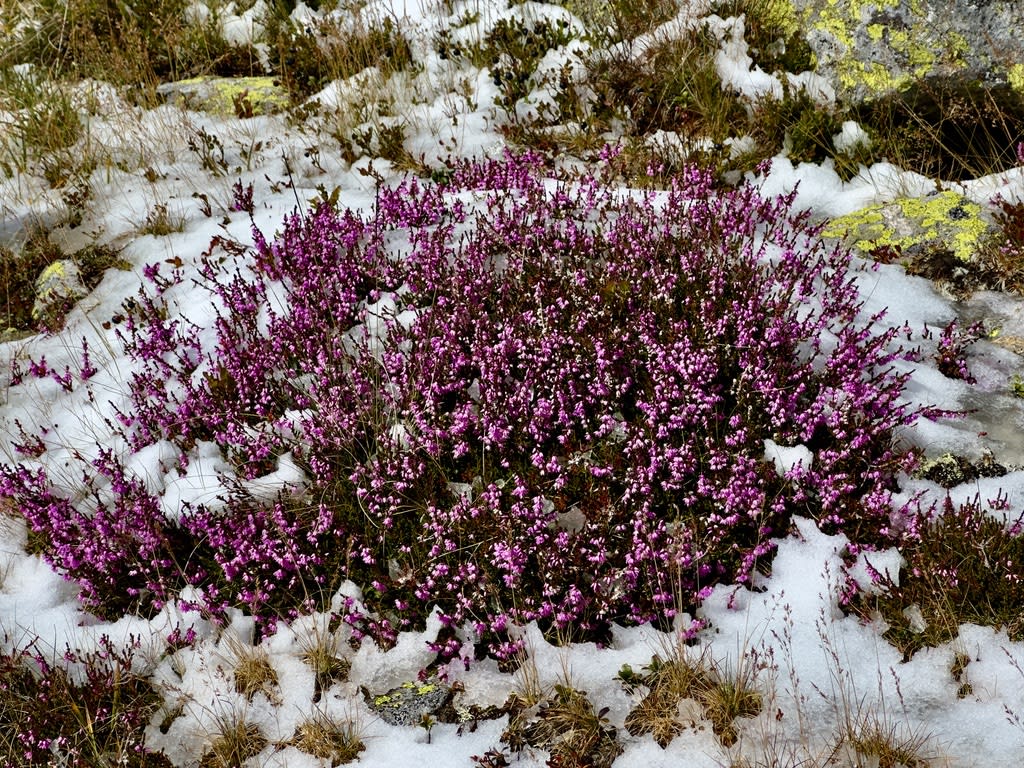
We're at the lower end of a large yellow-green slab. The rippled relief of its granite resembles the surface of the sea, with waves. The slab is pleasantly angled and, roughly halfway up, broken by a horizontal grassy ledge. On its left side is a little balcony. In late summer, blooming heather gives it an unforgettable look. Small pink heather blossoms tastefully complement the deep-green little dwarf pine and the silver-glinting anchor in the monolithic rock here. From Anchor 2 we climb diagonally left the whole way to the little balcony mentioned above (III), Anchor 3. There are no protection bolts here - we just walk and hold onto the crests of the "waves."
Pitch 7, Crack, grade VI, 22 m, 5 bolts
We take a deep breath - heather has a calming effect. Ahead of us is the hardest pitch. Up the ripples of the slab, 6 m straight up (III), then along a subtle little pillar, 6 m, through B1 and B2, to a small terrace full of bilberries (V+). We refuel - their taste confirms the rocky soil and sun-drenched slope. Above us is a vertical to slightly overhanging slab with an expanding crack. It leads us, through B3 to B5, to a comfortable anchor (VI-/VI). Far below us, Vareškové pleso shines, set against the backdrop of the Slavkovský štít massif.
Climbers can see each other. Anchor 4's chain is visible from Anchor 3.
Pitch 8, Handrails, grade IV+, 30 m, 5 bolts
Above us is a crossroads of routes. From left to right, the routes meeting here are: Kele-Puškáš-Šuna 1951, Feriancová-Páleníček 1975, Bednár-Gancarčík 1976, and Horan-Odložilík-Puškáš 1963. From the anchor, climb down 2 m (III), then 11 m of easy terrain across grassy ledges below an unmissable corner (II). Here there's a piton and a chain link forming the anchor for the routes mentioned. Puškáš's 1951 route runs from there up a slab to the left of the corner. We extend the crossroads anchor piton with a 120 cm sling for use as a running protection point. We don't climb the slab or the corner (Feriancová, Páleníček), but the pillar to the right of the corner, straight below a large yellow roof (IV, B1). Below us, in the traverse, runs the Bednár-Gancarčík route. If we've placed cams into cracks below B1, once B1 is clipped it's a good idea to remove them so the rope doesn't get sawed. At B1 too, use a 120 cm sling instead of a quickdraw. We continue diagonally right the whole time, straight below the yellow roof (IV+). Since we're going around the pillar in an arcing traverse, the individual bolts (B2 and B3) aren't visible - they only appear once we've climbed "around the corner." From B3 we no longer traverse, but continue straight up to a grassy balcony. Here, across a small wall (B4), to a rocky little balcony where the anchor sits (IV+). Long quickdraws are needed at B2 and B3. The terrain isn't technically demanding, but thanks to the extended protection (to reduce rope drag) and the airy traverse, it calls for confidence.
Climbers can see each other up to B3. Anchor 5 is hidden among the tips of the pillar, but Anchor 4 is visible from Anchor 5.
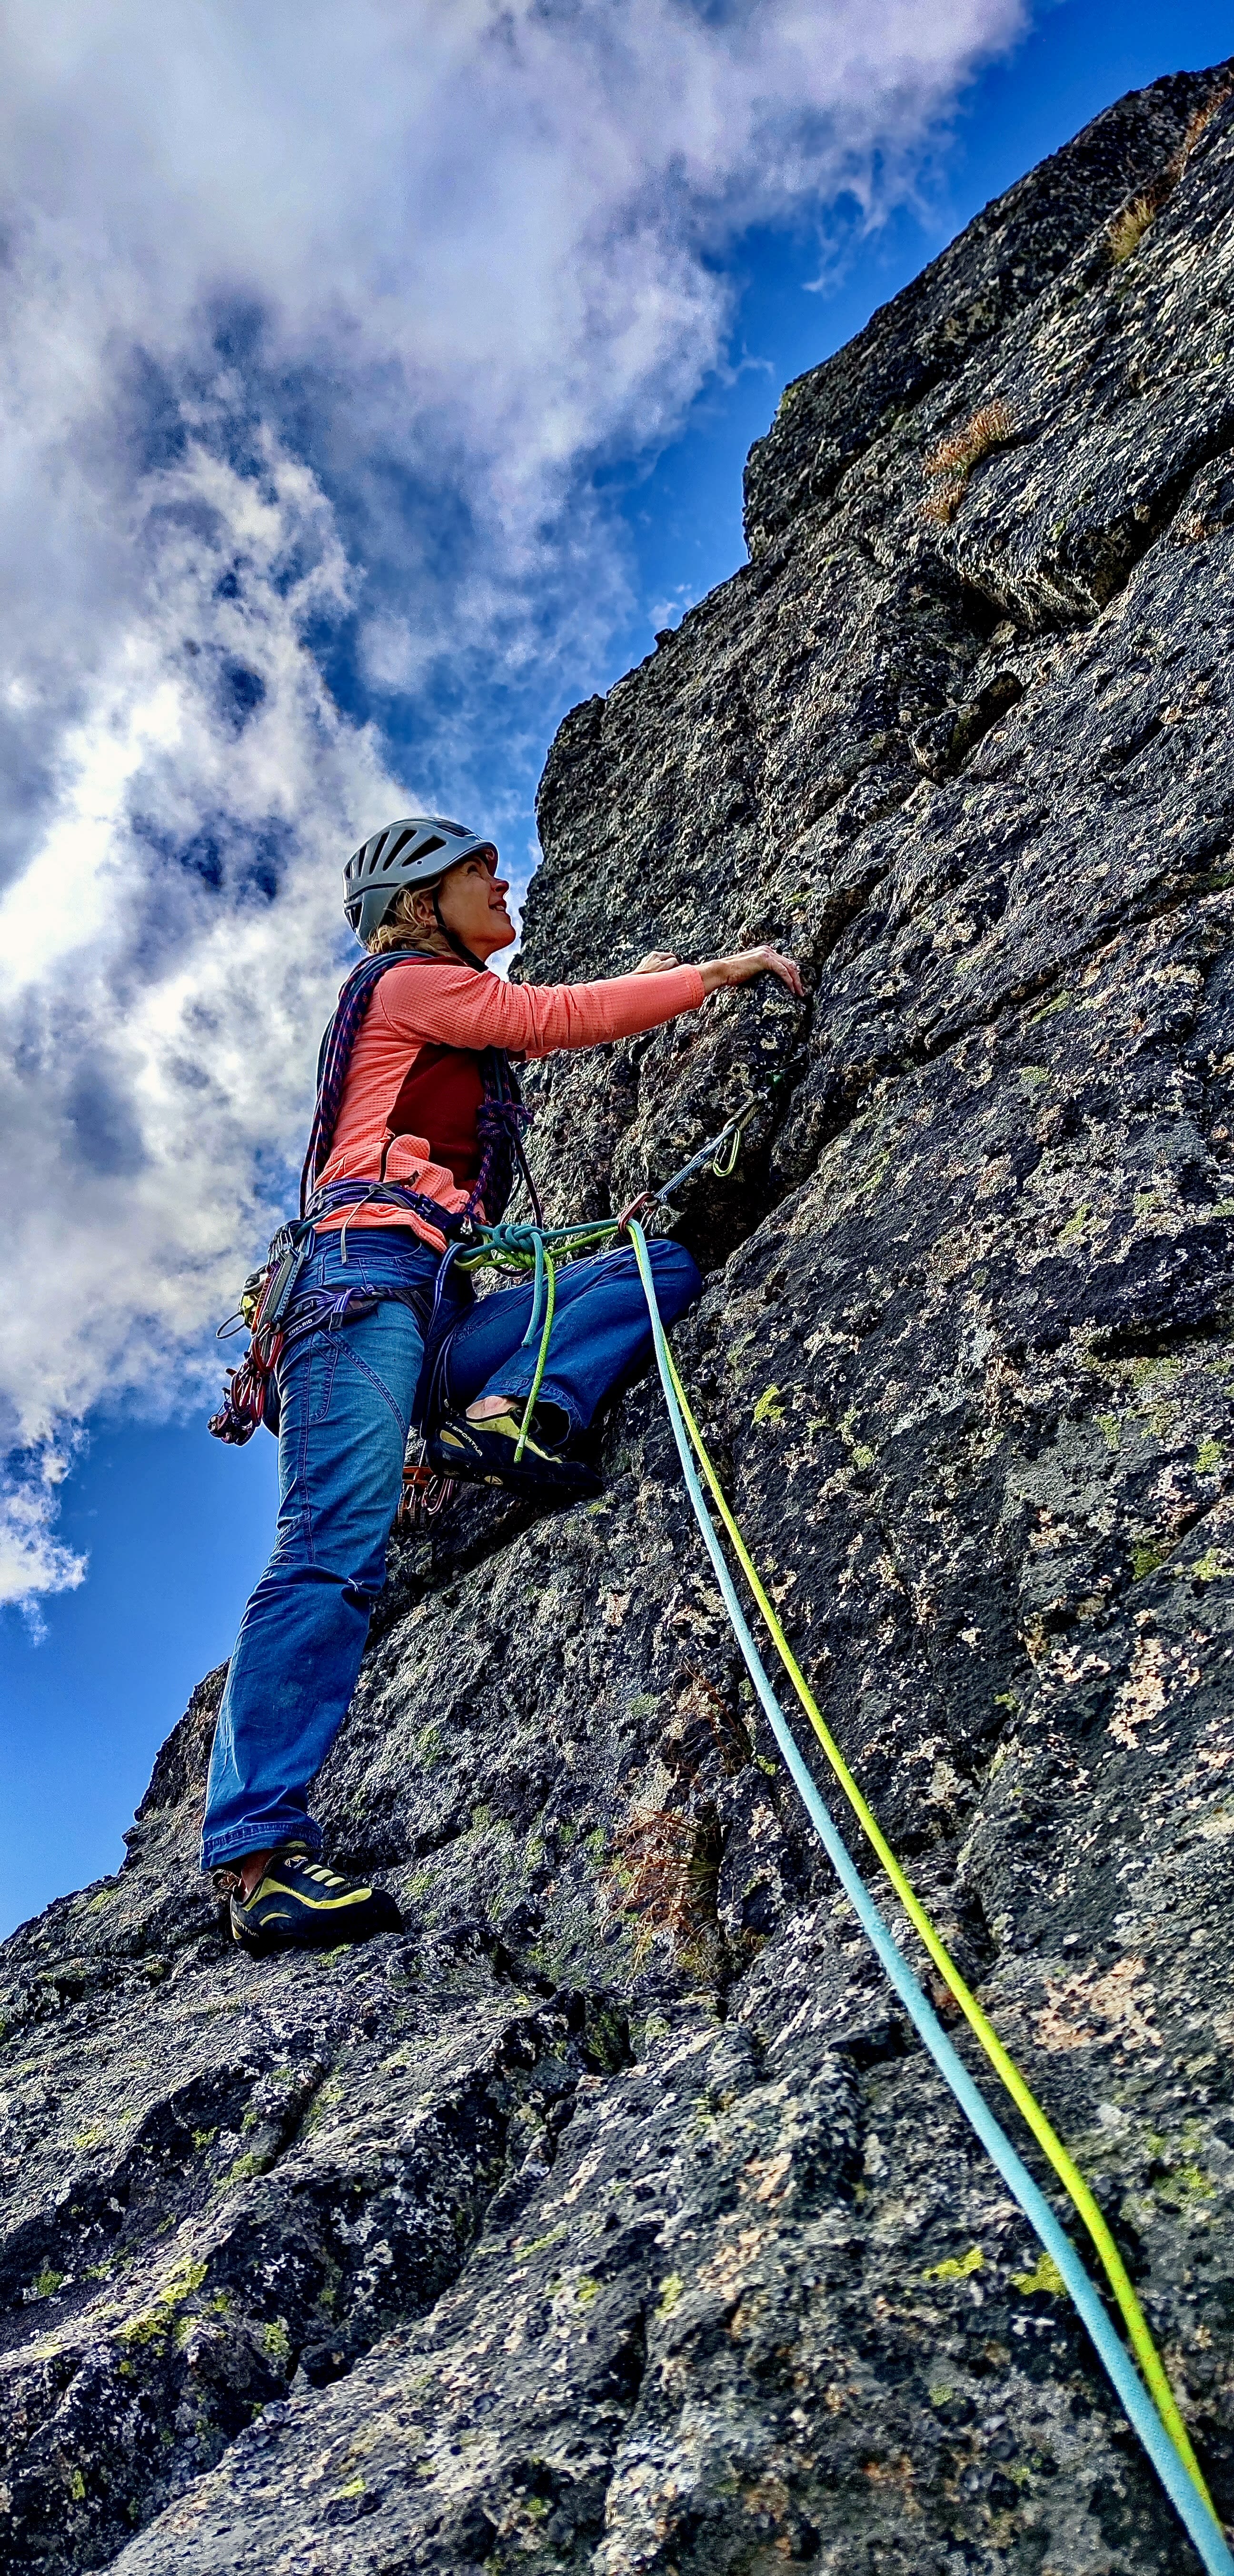
Pitch 9, Little Walls, grade V+, 22 m, 2 bolts
Up a small wall, slightly left, straight up to a little balcony on the pillar, B1. From there up a small wall to a tower that has an enormous boulder resting on its top, B2. Watch out for the many loose stones stacked on the ledges. Climbers can see each other from the anchors only during the first part of the pitch. The anchor below the boulder isn't visible.
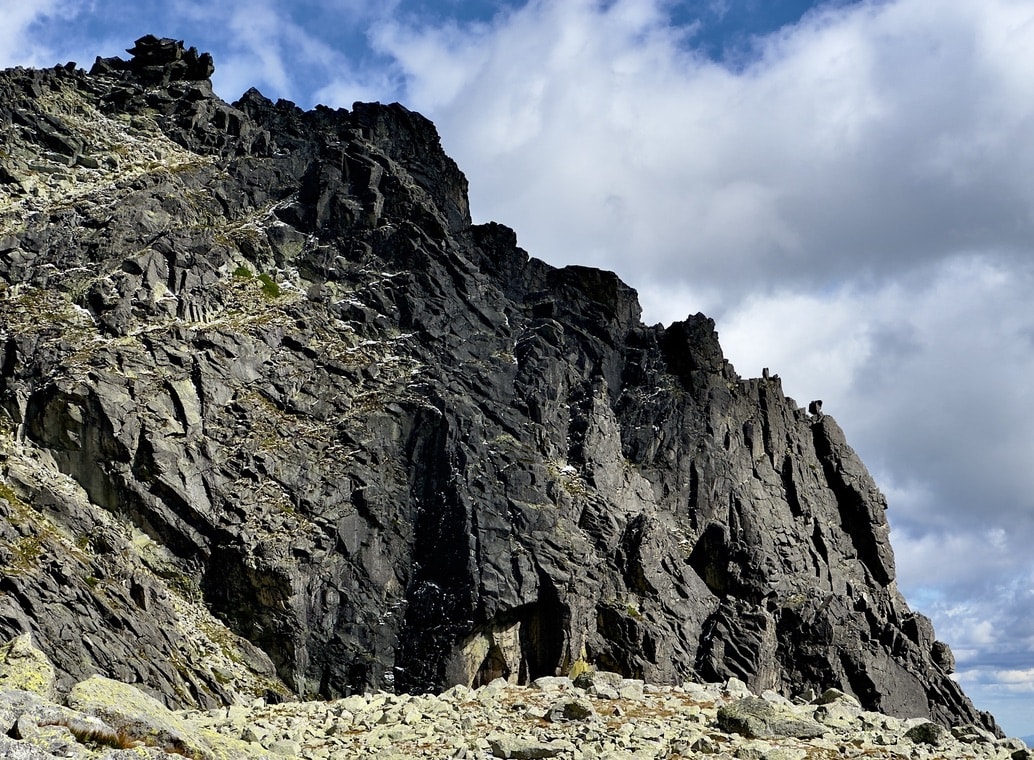
Pitches 10 to 12 run along the ridge, grade II to IV, to the summit of Strelecká veža
We continue, staying close to the ridge the whole way. We've marked the terrain with cairns. Since this follows the line of old routes, we haven't added any protection here. There's one piton below the crux rise of the ridge.
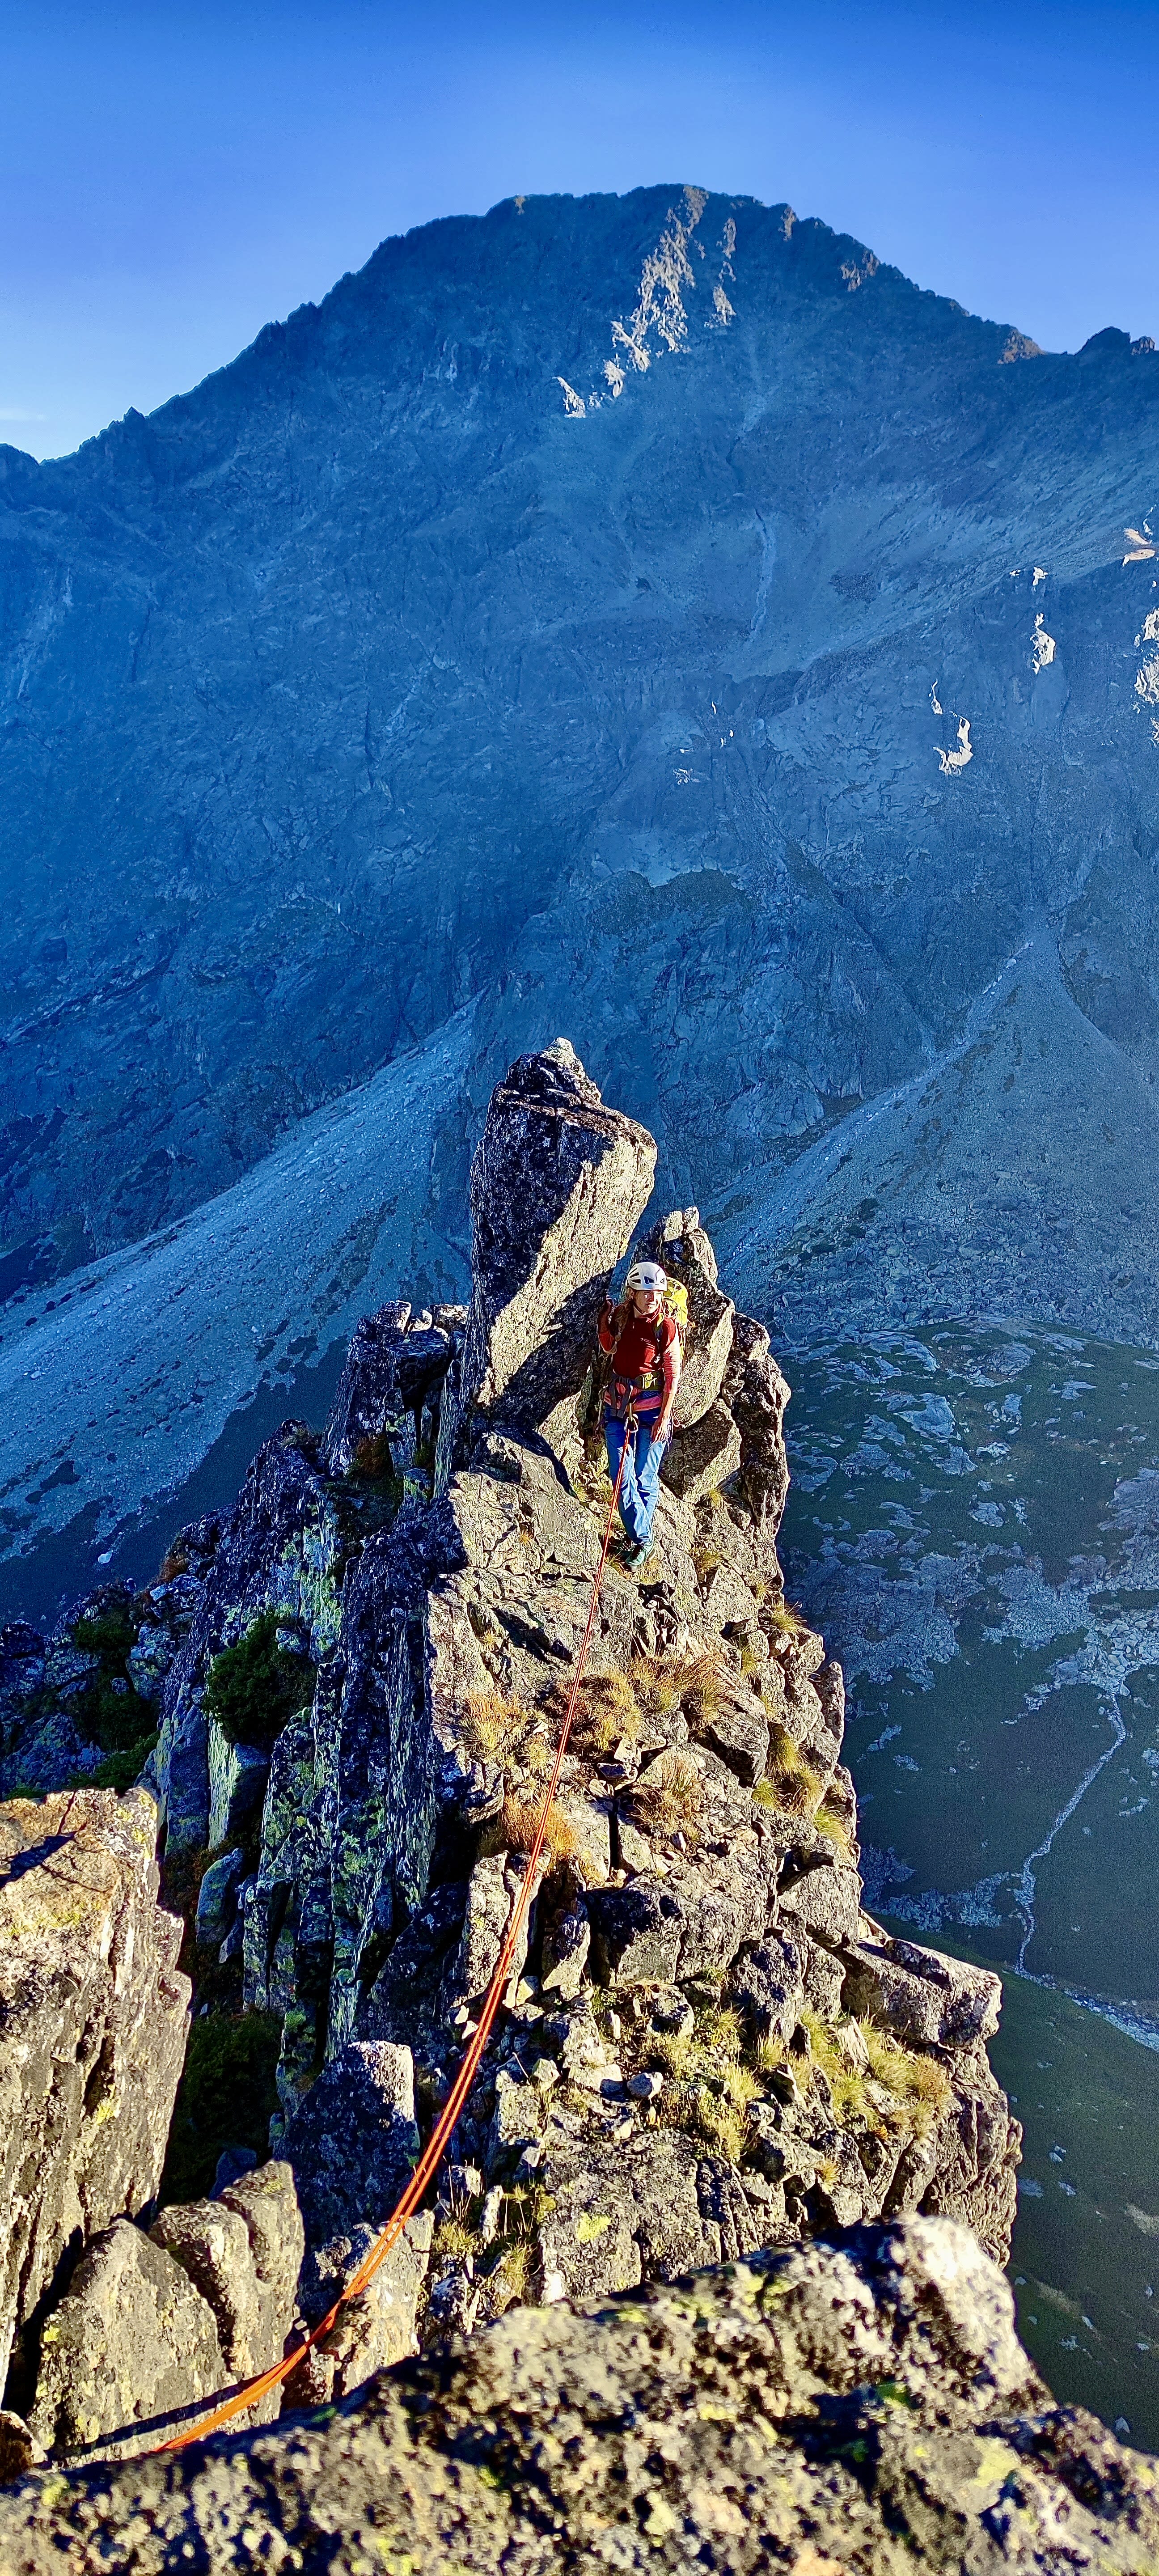
Descent:
From the summit we walk north along a clearly recognizable little path. After 10 minutes we're on the yellow-marked hiking trail. We continue past Sivé plesá and below Javorový štít toward Zbojnícka chata. At Zbojnícky spád we can leave the marked trail and reach Brána, on the blue-marked hiking trail, via Generálšús.
You can rappel the whole route without complications from Balvan ostrostrelcov. At the start we rappel down the slab of the Kele-Puškáš-Šuna route from 1951, skipping the Ostrostrelecká anchor between the eighth and ninth pitches.
Time required from Hrebienok
- Approach to the wall from Hrebienok: 2 hours.
- The climb: 5 hours.
- Descent via Generálšús to Hrebienok: 2:50 hours.
- Descent to Popradské pleso: 2 hours
These times apply to a two-person climbing team. For a party of three, or for beginners, it may take several hours longer!
Gear
- a sit harness and chest harness
- a helmet
- a single 60 m rope, or alternatively 2 x 40 m twin or half ropes
- 10 quickdraws
- 6 locking carabiners and HMS carabiners
- a belay device for each climber
- 4 cams (medium and small sizes)
- slings and a prusik cord
- climbing shoes or approach shoes
- a first-aid kit with a thermal reflective blanket
- a headlamp
- an isotonic drink, or a thermos with warm tea, and food for the field
- clothing to protect against cold and rain
- a mobile phone with a charged battery
- a topo with a route description
This page has been translated using AI and may contain errors.