
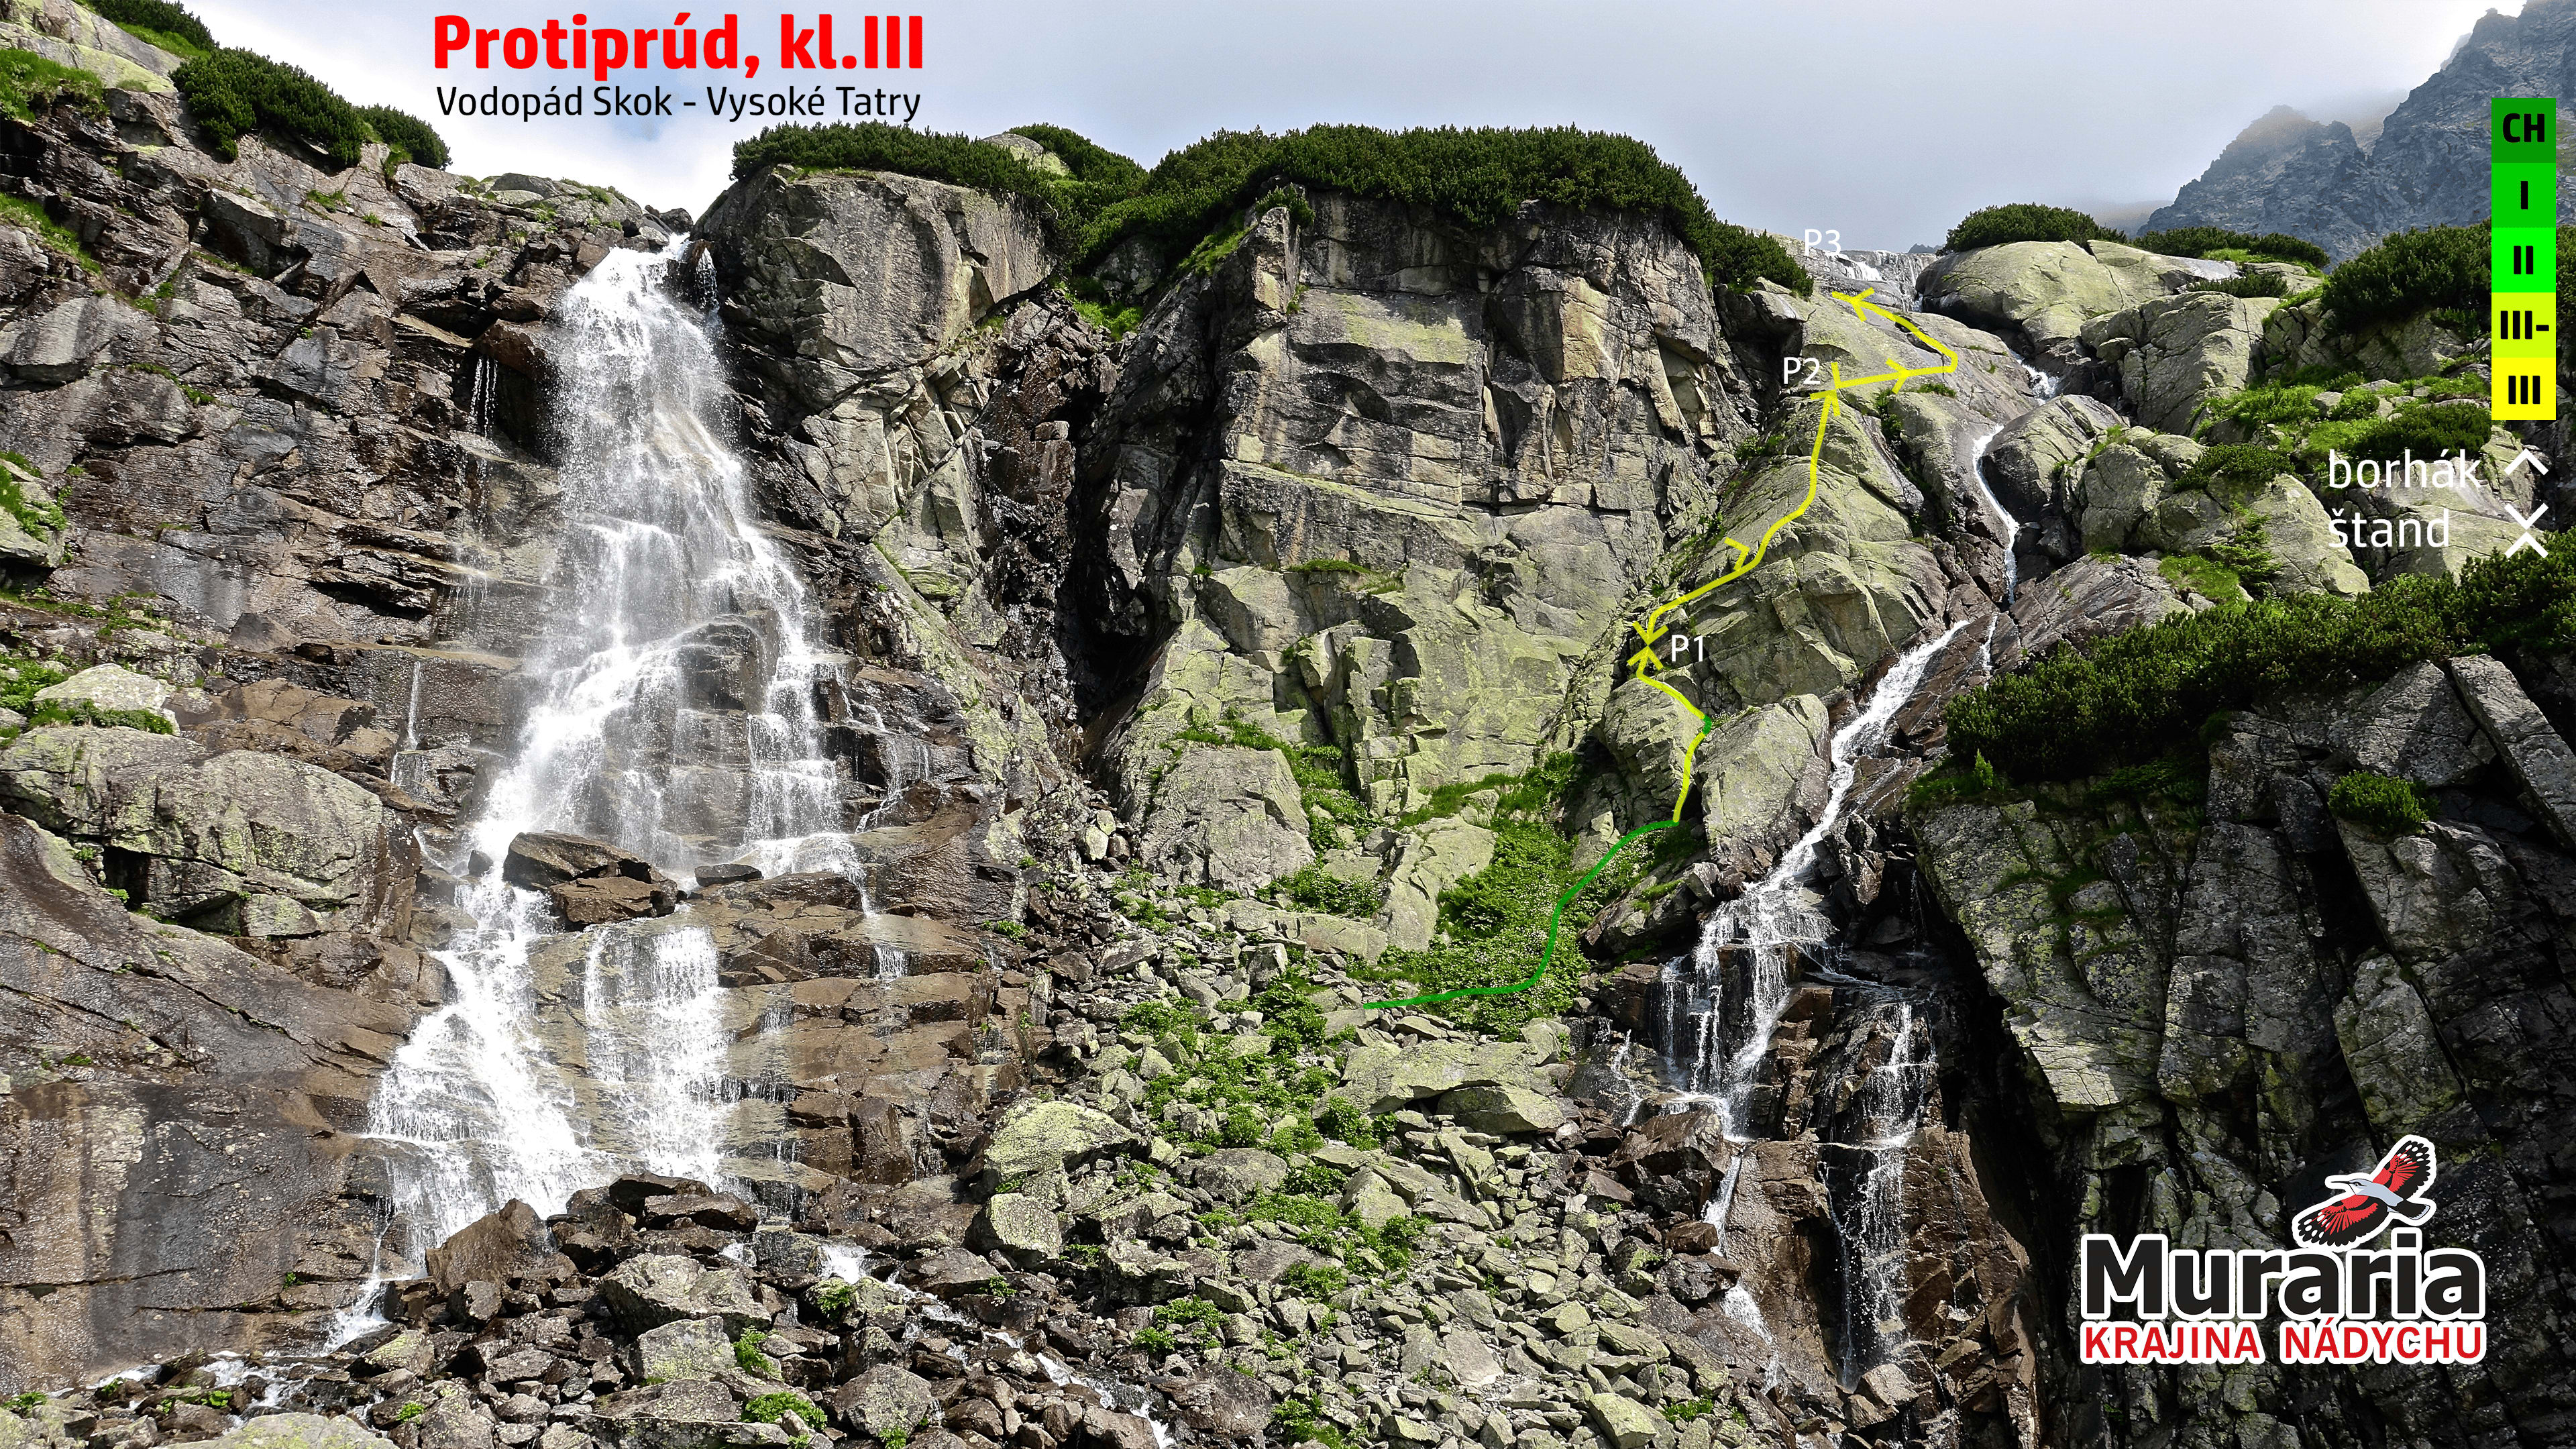
Protiprúd, grade III, Vodopád Skok 1789 m
A route "right behind the house," in an enchanting setting of flawless granite
Characteristics
A climbing baptismal font
For beginning climbers, a shorter climb of initiatory difficulty, with an exceptionally precise description and diagram, can be just the thing for a first climbing date with the Tatras. Protiprúd is exactly that. Our route description is therefore tailored to beginners, and supplemented with methodological recommendations. On top of that, we've put together two diagrams and one instructional video for the route. In the video, every sentence of the description is shown in the matching video sequence. Just click its timestamp on the left, and the described action appears, moving, at the real spot.
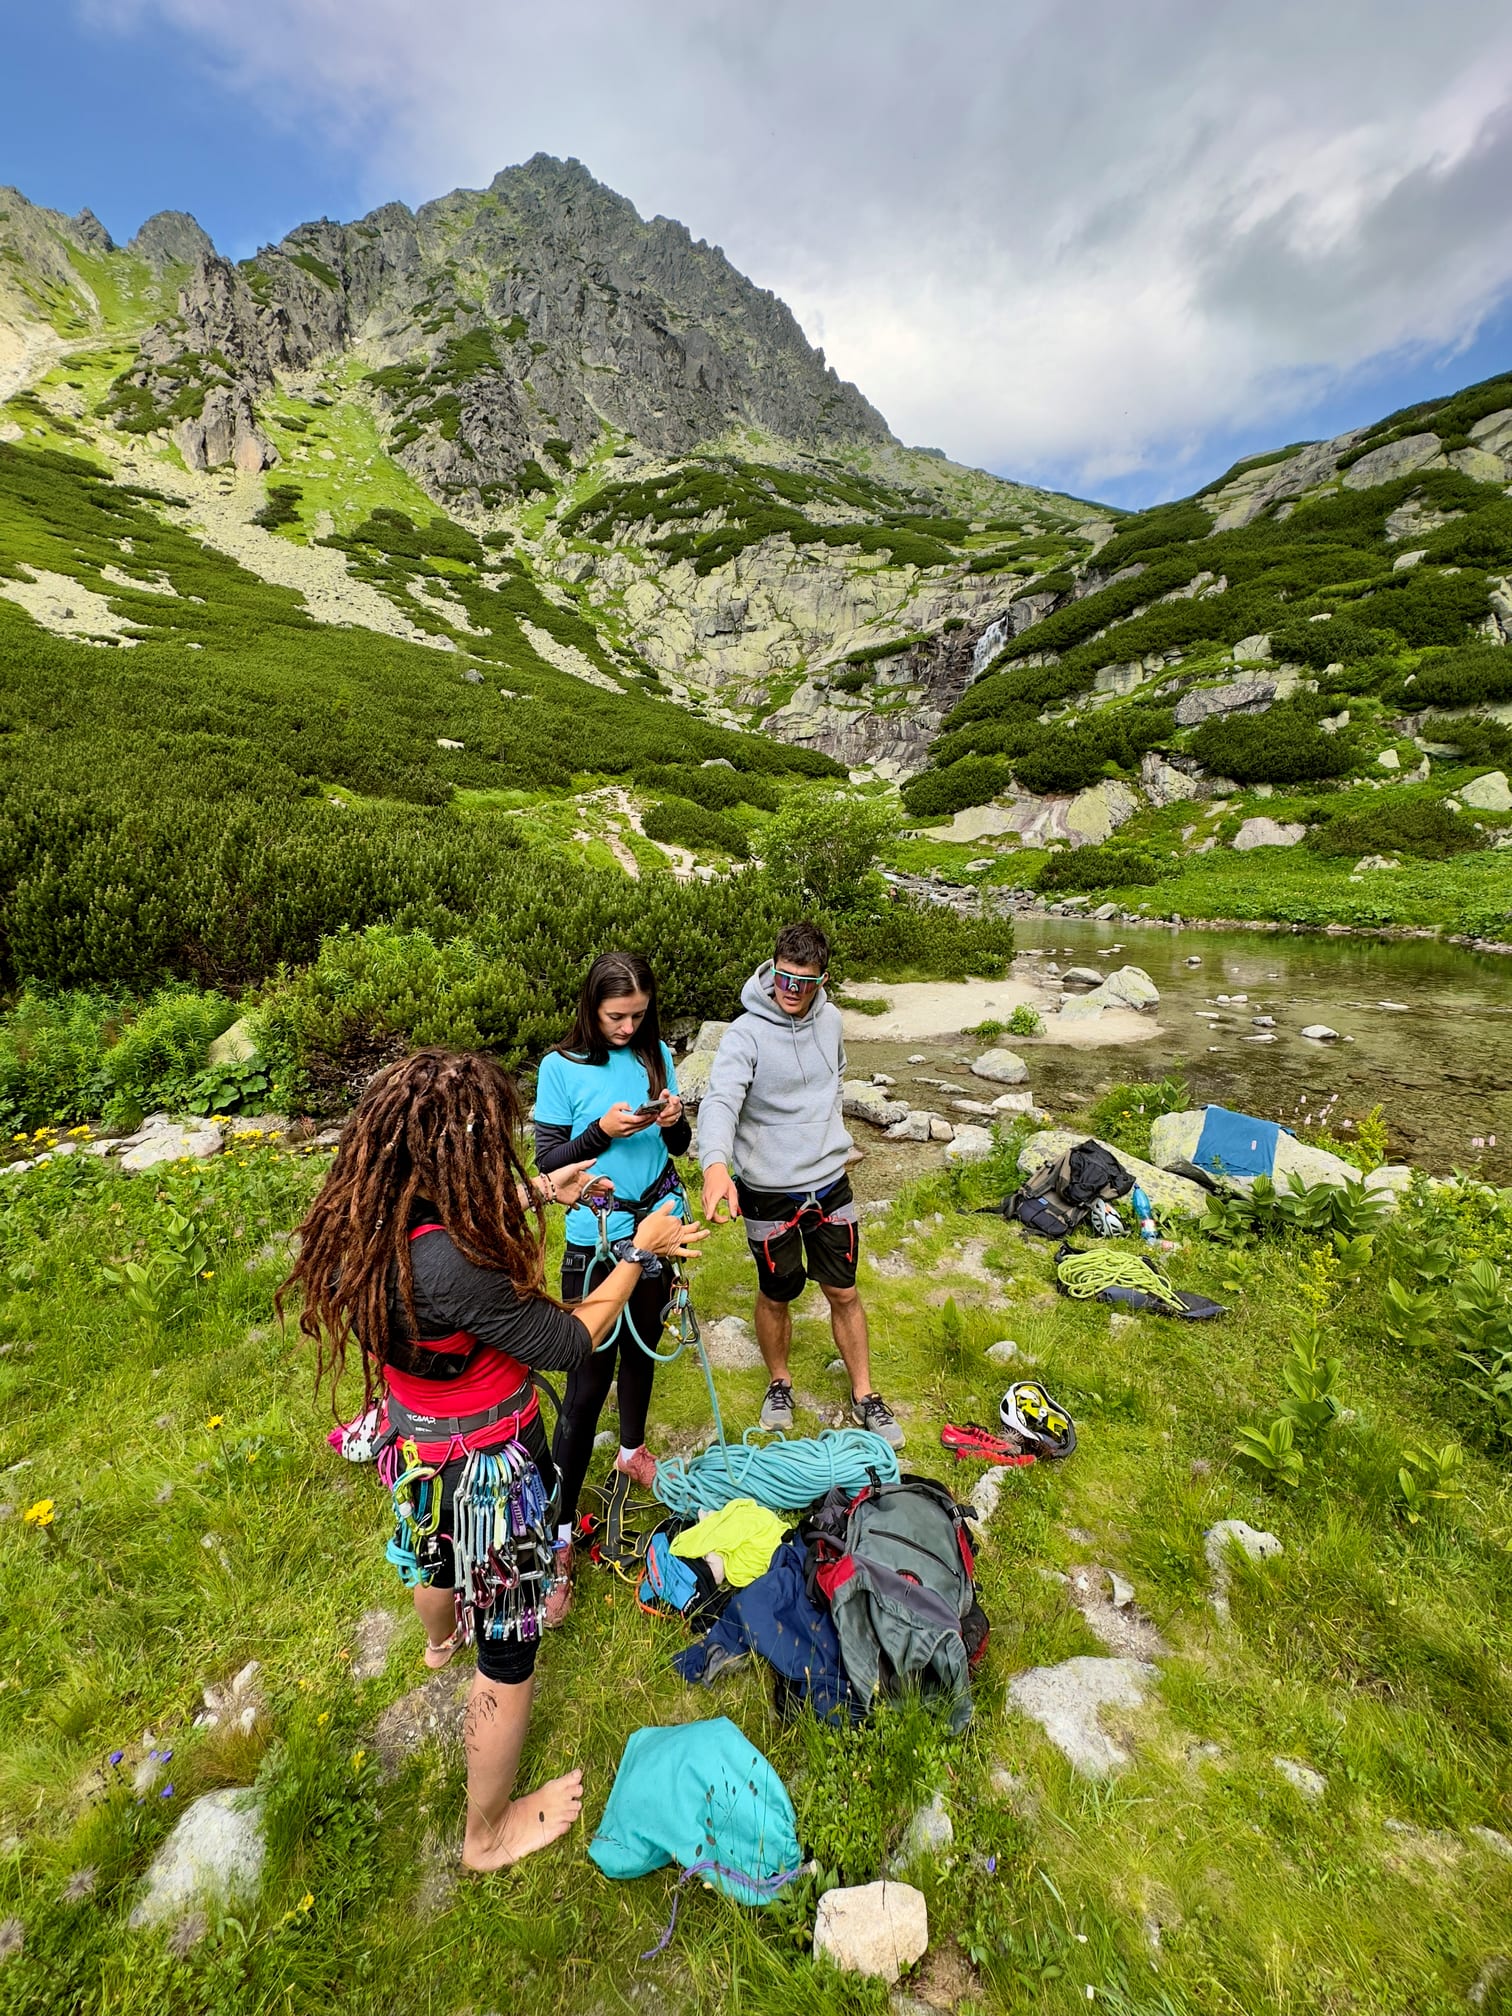
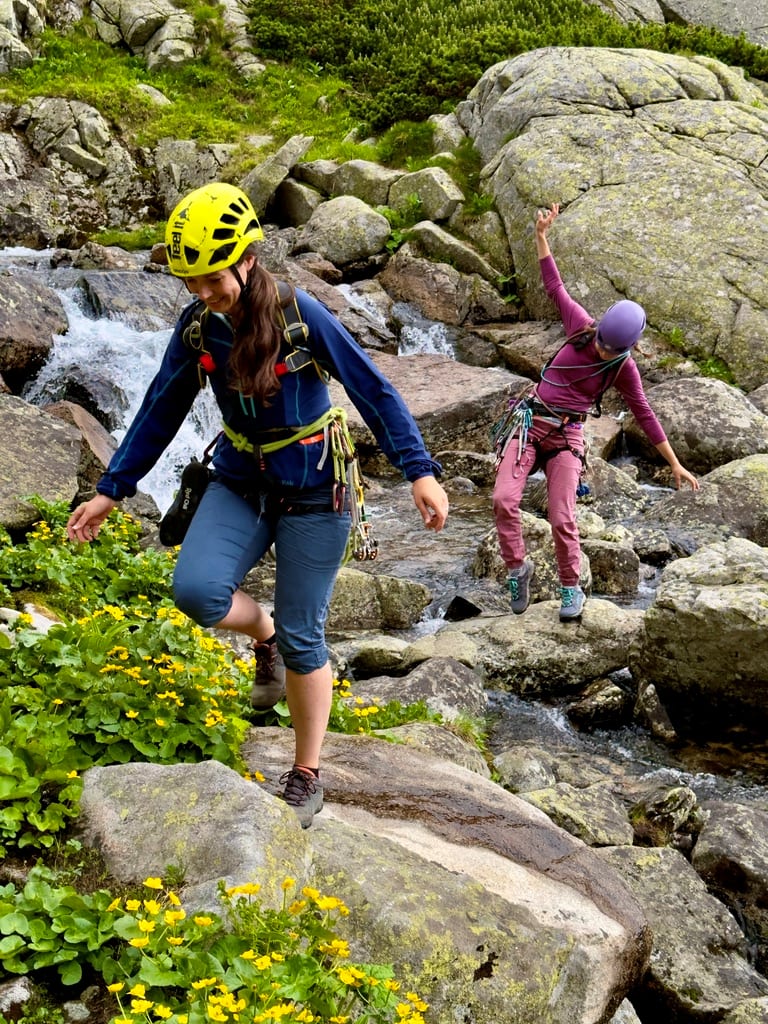
The approach to Protiprúd takes less than an hour. It follows a hiking trail through the gorgeous Mlynická dolina. You can even gear up for climbing on the white sand beach by a small, clear little tarn right below the wall.
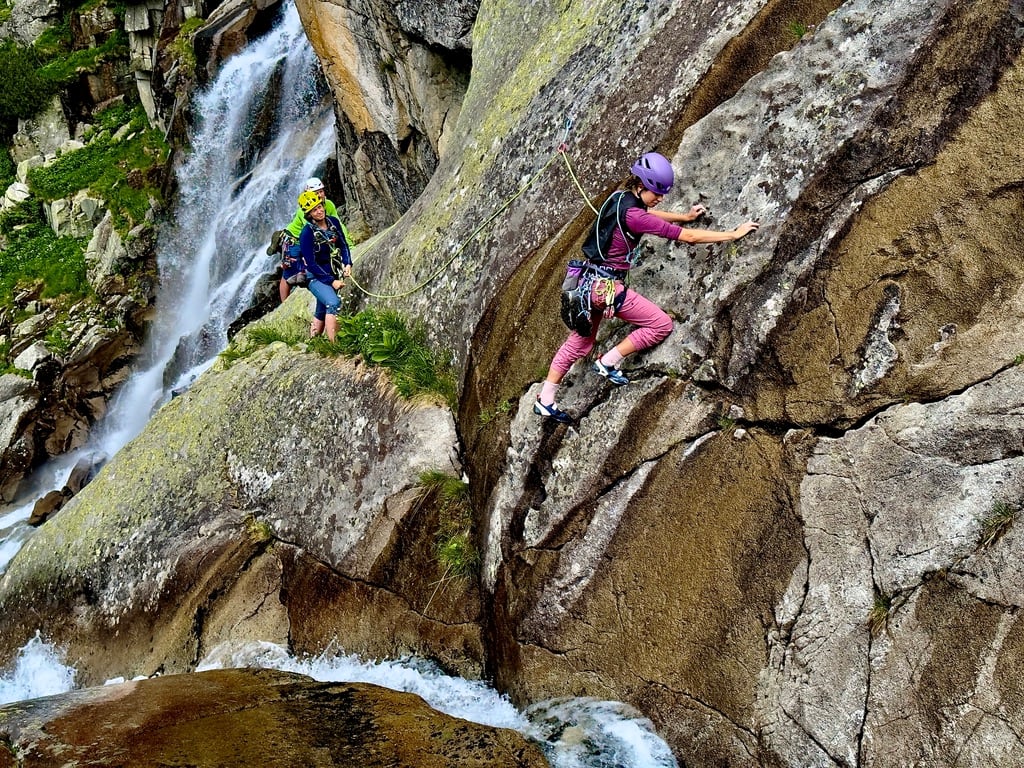
You climb on monolithic rock that's a work of art in its own right. The character of the climb gives the first climber on the rope plenty of time for endless hesitation while finding the line, placing protection, and building anchors. There's excellent mobile phone signal in the area. In moments of doubt, that means you can call not just on the Lord, but on a "friend" or climbing partner too. Every anchor sits on two stainless-steel bolts connected by a chain, and allows a rappel in an emergency too. The placement of the fixed protection is minimal, but serves a rescue and navigation function. That's why every key pitch has two protection bolts. The rock offers rich, high-quality options for your own protection, cams above all. The descent is on foot, along the yellow-marked hiking trail.
Thanks to everything above, Protiprúd is an ideal spot especially for a "climbing baptism." The right atmosphere for those being baptized, and their sponsors, is created by the scenery of the Bášte and Solisko ridges, as well as the two branches of the waterfall meeting, amplified by the roar of their waters. Guests have a dignified place below the waterfall. The micro-droplets of water hanging in the air, and the rainbow that mysteriously appears, remain reserved for those who want to live close to heaven.
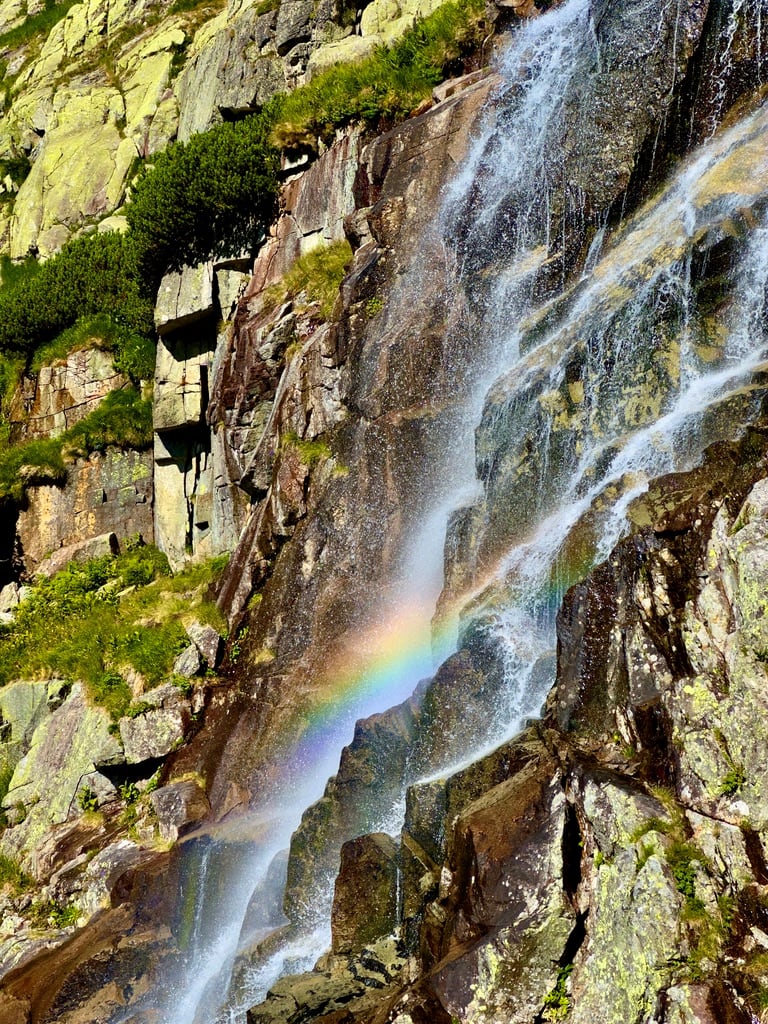
A climbing chapel, open to everyone
Besides baptisms, Protiprúd also suits climbing reflection, celebrations, engagements, farewells, or penance. It welcomes children, youth (whether on the first or second end of the rope, depending on their level of physical and mental maturity), adults, and elders alike. Protiprúd is the most interesting and most beautiful part of the way to the little angels, fallen angels, and archangels on the nearby Anjelský hang. The route is easy, but you do have to actually climb it. Excellent climbers will enjoy it even in approach shoes with a pack.
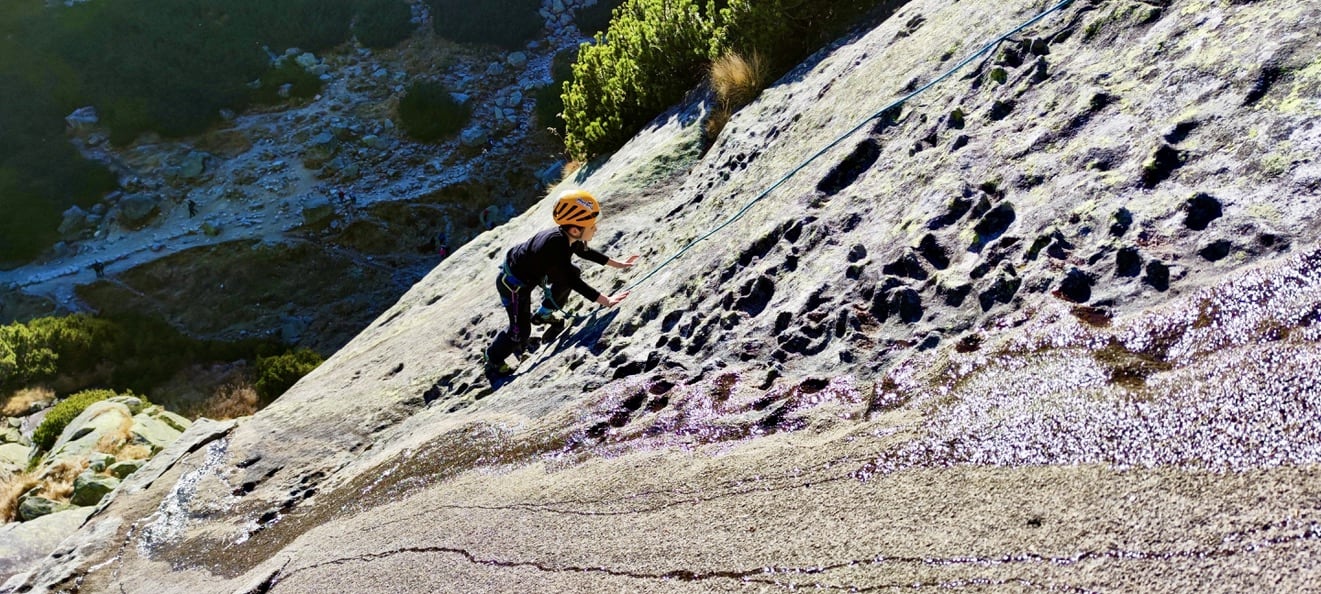
Protiprúd opens up new possibilities in Mlynická dolina:
- for climbers, in connection with the twelve routes of Anjelský hang
- for hikers, with a crossing of the Bystrá footbridge
Protiprúd is not suitable for climbing teams without basic climbing experience!
Even though it's grade three, the initiatory level of climbing difficulty, climbing Protiprúd requires climbing knowledge. Consider your own experience, and if needed, bring along a climbing instructor, an experienced and responsible climbing friend, or use the services of mountain guides.
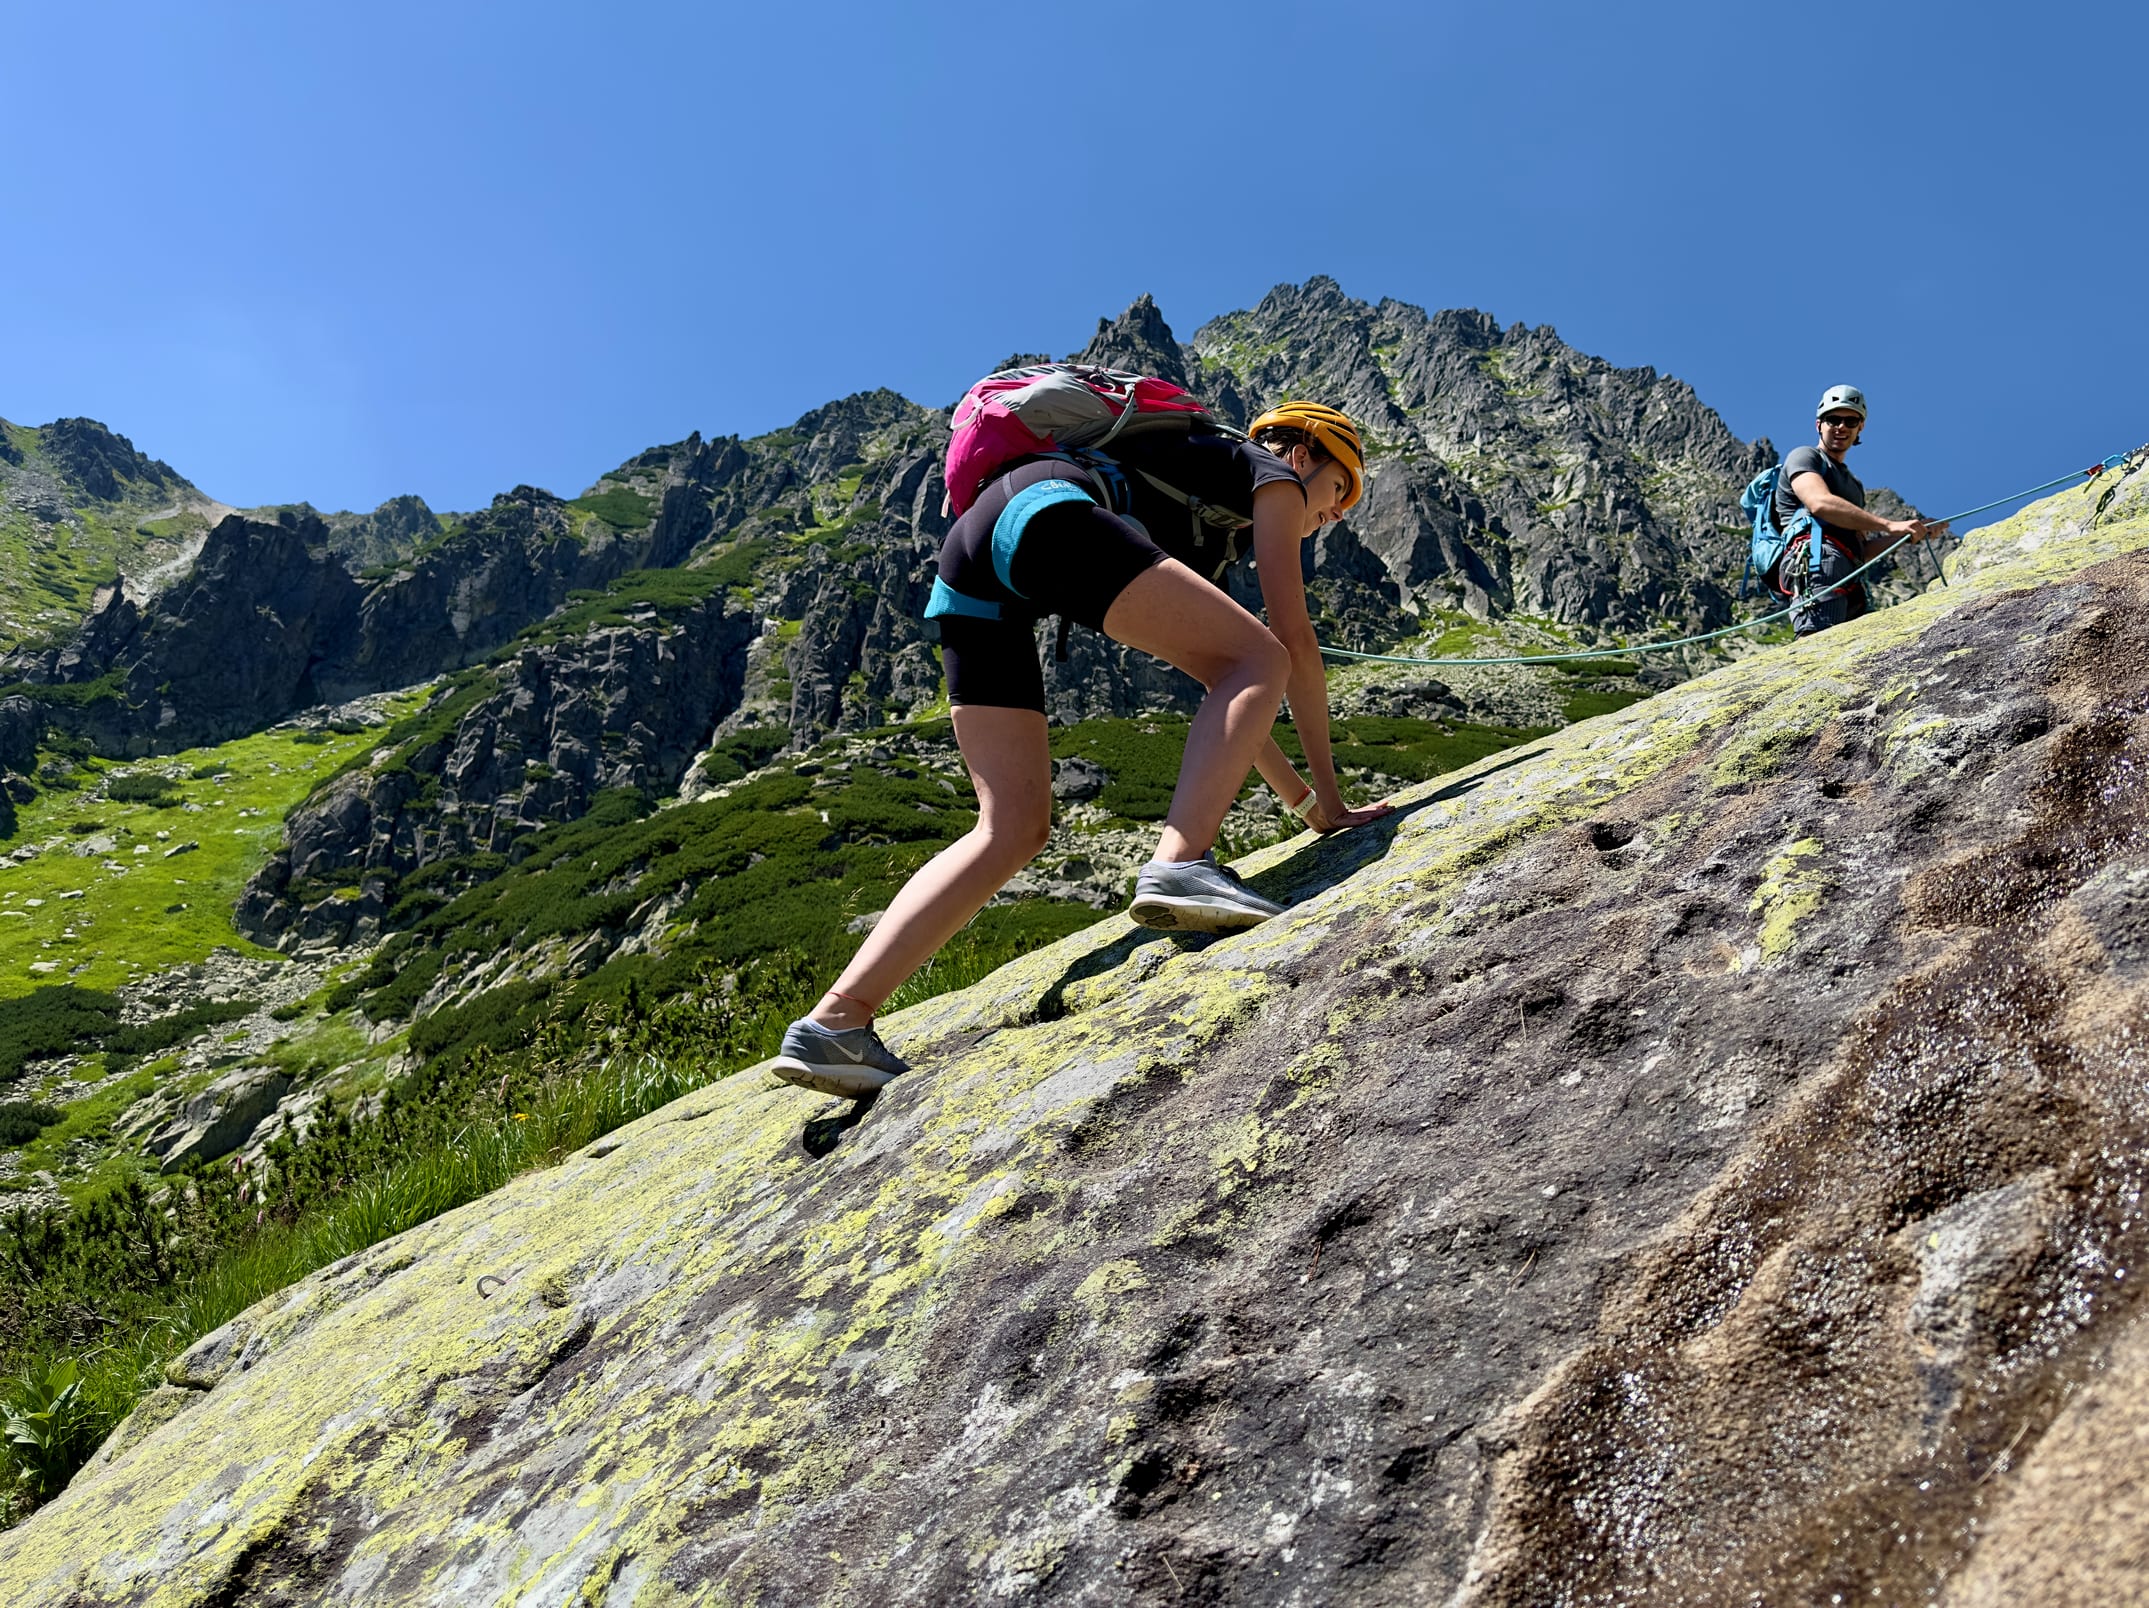
Approach via Mlynická dolina (55 min):
Mlynická dolina is one of the most beautiful valleys in the Tatras. Looking more closely from the shores of Štrbské Pleso, its main features are easy to make out. The Solisko ridge borders it on the left, and the Bášte ridge on the right. Štrbský štít closes it off at the far end. The floor of the valley rises steeply three times. The first of these rises, framed on the right by Veža and Stena pod Skokom, is the Skok waterfall itself. It's here, on the pillar between the two branches of the waterfall, that the Protiprúd route, grade III, runs.
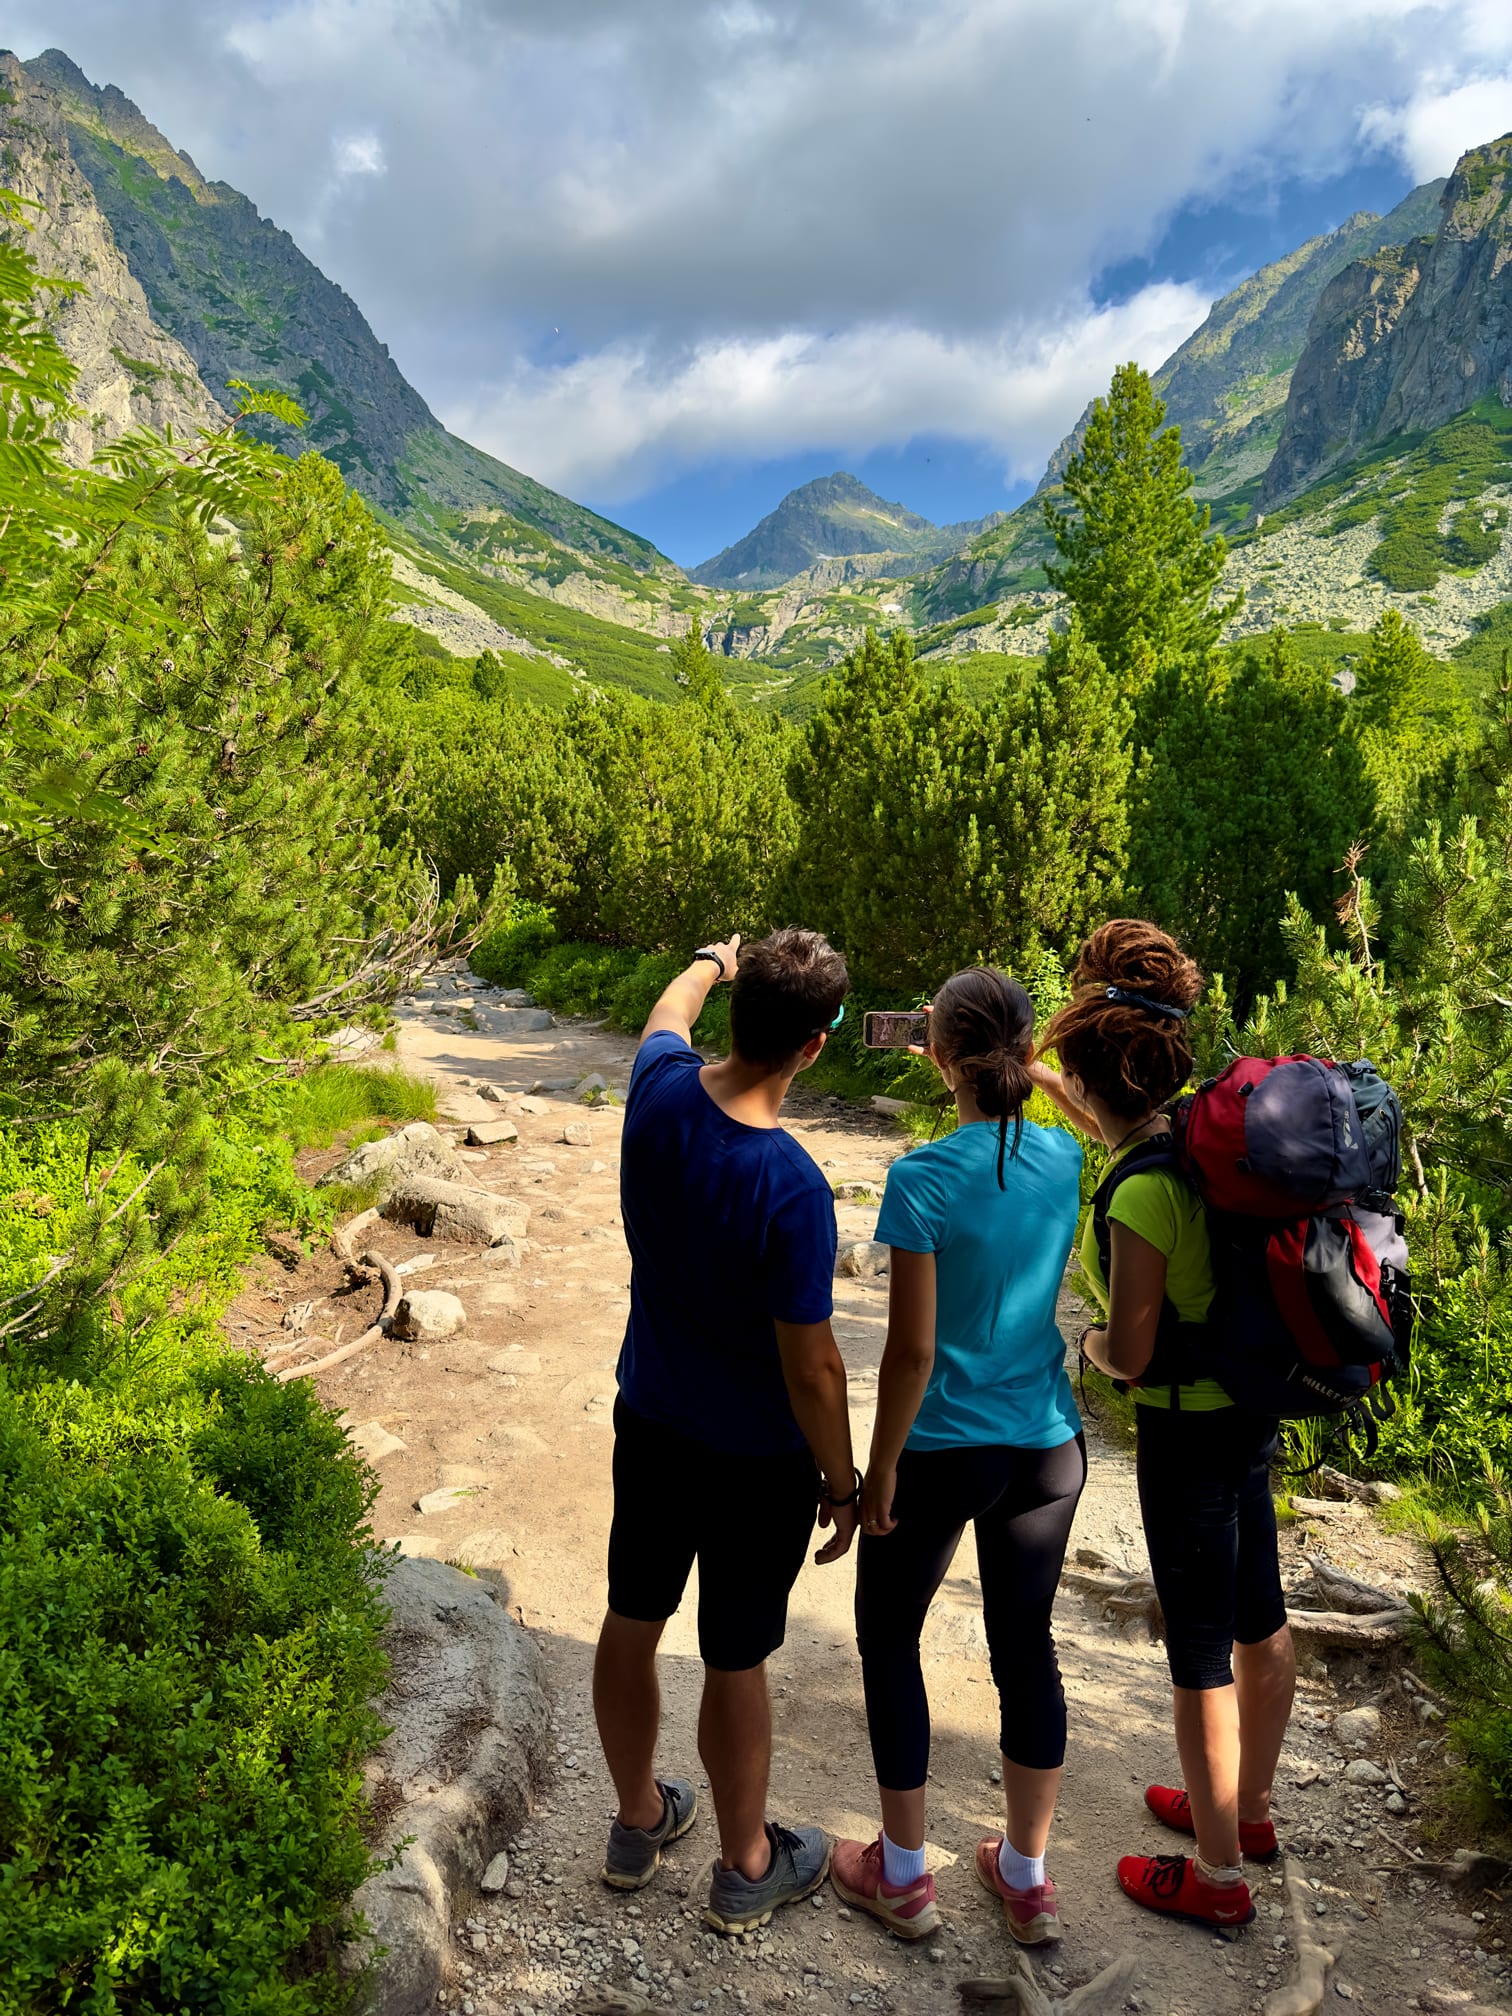
From Štrbské Pleso it's under an hour on foot to below the waterfall. The hiking trail, marked in yellow, leads from the shore of Štrbské Pleso through the ski area up to the valley station of the chairlift running below Predné Solisko. Here the yellow trail enters the forest. At first it passes by a small reservoir, and later enters a grove of stone pines with a babbling stream. It keeps climbing, until, past the imposing towers mentioned, it reaches a small azure-coloured tarn. Its shore is a beach of white sand. From there the trail continues straight toward the main branch of the waterfall, which it passes on the left. Below the waterfall we leave the marked trail and cross the stream on rocks (5 min) to the waterfall, then right onto the pillar. The spot is easy to recognize from the photo diagram and from the video footage too. We've marked it with cairns. From the beach it's about 7 minutes to the start of the route.
The hike to the Skok waterfall is a popular one. If you don't want to socialize with hikers, set out at dawn. If possible, avoid starting the approach between 10 a.m. and 3 p.m. The nearest, but usually also the most expensive, parking is by the chairlifts. From the train and bus station, the nicest way to join the yellow hiking trail is via the long staircase to the left of the information centre, all the way to the lake shore.
Route description
Optional pitch zero, grade II and III, 20 m
After leaving the marked trail below the waterfall, instead of heading into the distinct corner on the left (to the right of the main branch of the waterfall), we climb (grade II) a little channel to its right, onto a grassy little balcony. It's a beautiful, comfortable spot close to the secondary branch of the waterfall. Two cairns mark the route. From there we continue 5 m (grade III) diagonally up and left to a ledge with an anchor bolt. A less experienced climber should be belayed through this section!
Pitch 1, grade III, 22 m, 2 bolts
The first anchor is on a small ledge. The anchor's protection is a bolt, to which you need to add a cam placed in a vertical crack a metre above it. Where American-sized cams are used, a blue #3 fits; from Kouba's sizing, a purple #5. The second climber can be belayed up from there from the grassy little balcony (grade II to III). Roughly a metre and a half above the cam mentioned there's a horizontal crack for a large cam. We don't climb straight up, but traverse 4 m from there to the right along the ledge. Halfway through the traverse is this pitch's only protection bolt. At the end of the traverse we continue straight up a rounded pillar that resembles the back of a giant elephant, up to a small ledge below the anchor. There are excellent gear-placement options throughout the pitch.
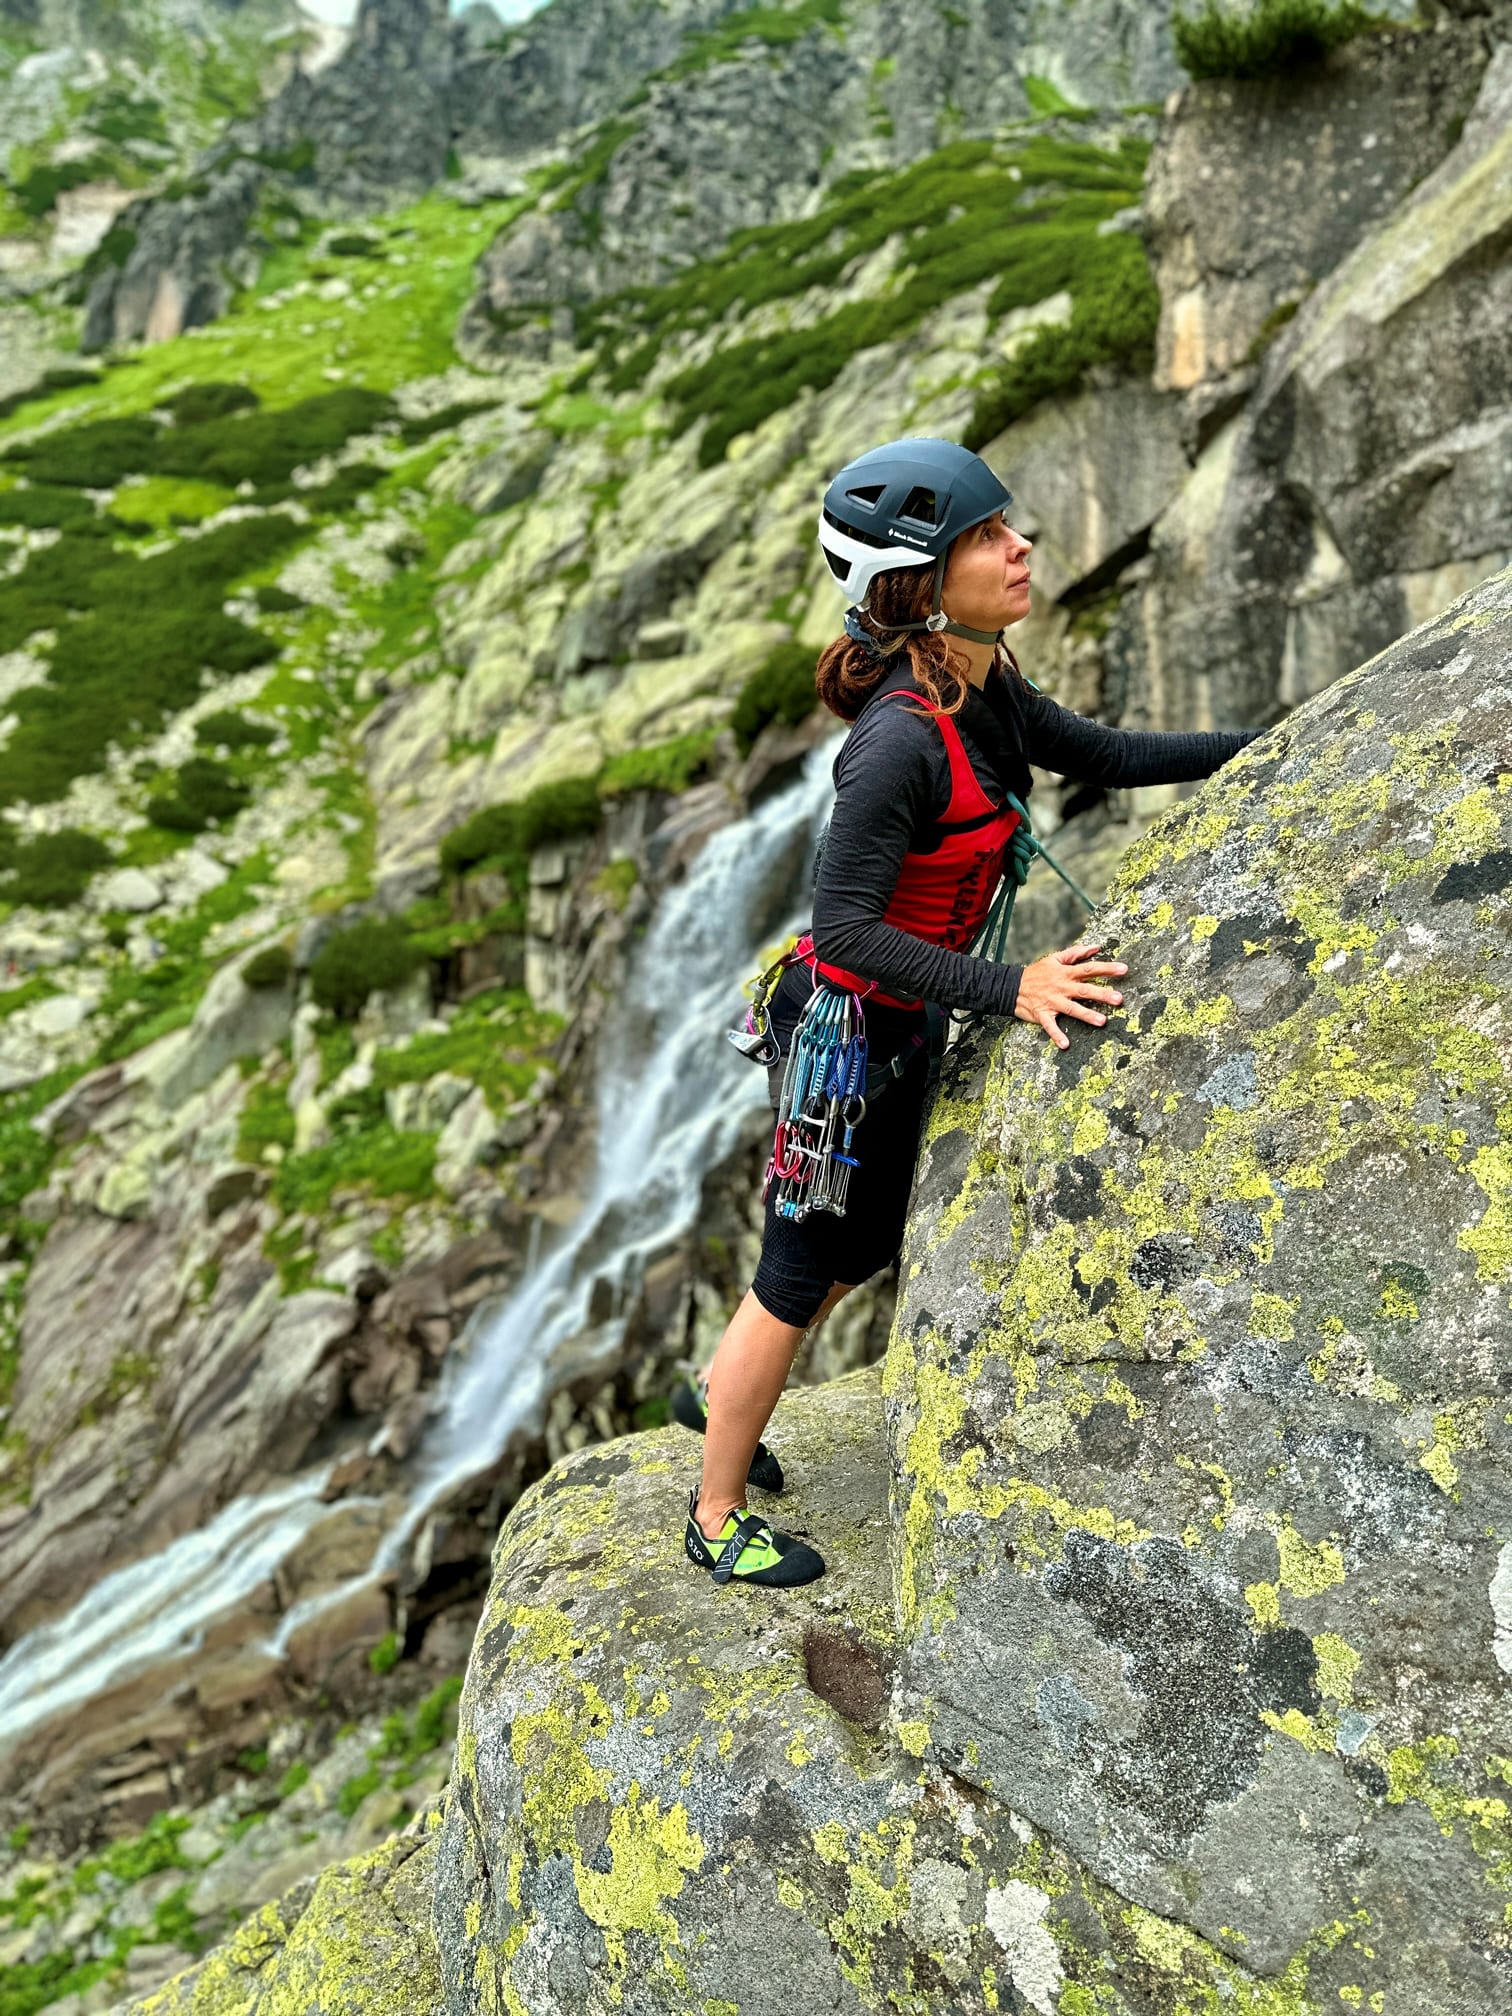
The anchor is best clipped from the grassy ledge on the right. A clove hitch lets you adjust the rope so the climber can stand comfortably on the ledge and see the second climber. While climbing the second pitch, the climber and belayer can then both move onto the grassy ledge on the right.
Climbers can see each other, if the first on the rope stands in the right spot at the anchor. Anchor 2 isn't visible from Anchor 1.
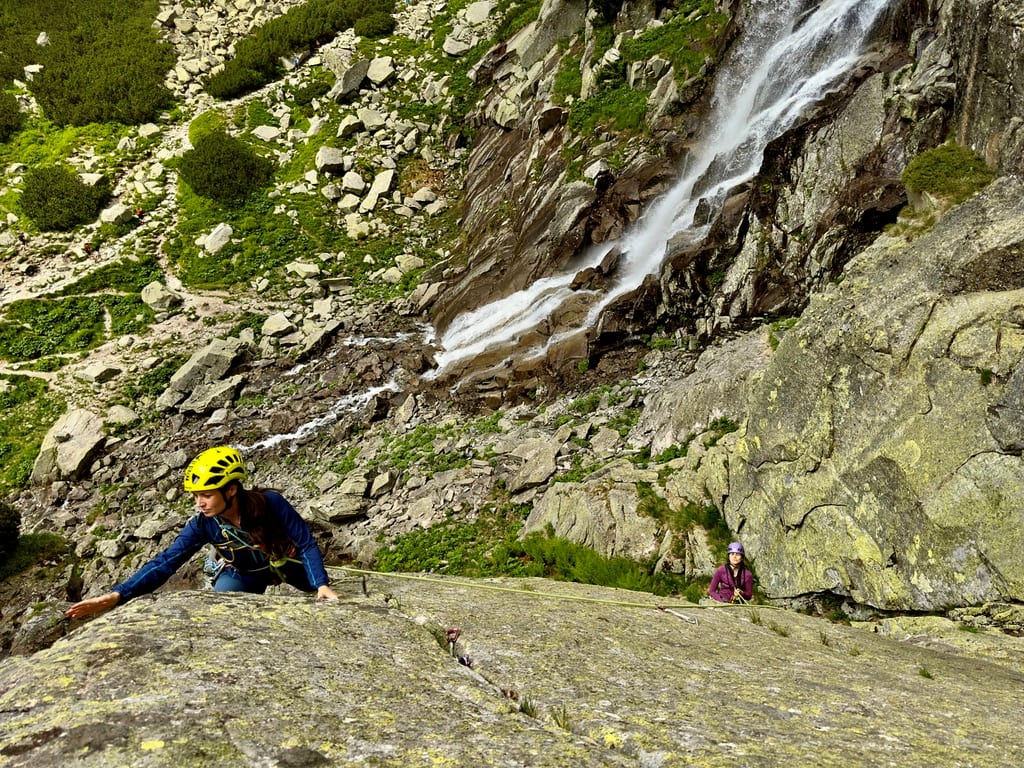
Pitch 2, grade III, 32 m, 2 bolts
With a small weight difference, belaying directly off your harness works fine. With a bigger weight difference, thanks to the fixed early protection, the route allows using an Edelrid Ohm assist device. Belaying from the central point or from the anchor itself can also work well. The anchor's upper bolt, about 2 metres from the belayer, serves as the first piece of protection. From the anchor we traverse 7 m along a grassy ledge to the right (the first bolt) and slightly down. Once the protection bolt in the traverse is clipped, it's a good idea to unclip the lead climber's first protection point at the anchor. This improves rope management and contact with the lead climber. Children and shorter climbers can't reach the bolt in the traverse with their feet on the grassy ledge. The best solution is to use a "long arm." A long quickdraw, for instance the "Tricky" from Climbing Technology, works well here. After clipping this bolt and crossing a wet spot, we continue up granite ripples, straight up and slightly diagonally left (grade III). In the crack, often washed by water, there are two good spots for tiny cams. Use them, since higher up the rock offers no further options for your own protection.
Above this spot you can already play around (grade II) in the granite ripples, with protection well below you, all the way to the second bolt. You'll find it on a slab, seven metres below the second anchor, on the left, near the dwarf pines.
Climbers are in sight of each other only up to the crack for tiny cams. The first on the rope can see the second climber from the third anchor, if they extend the rope with a clove hitch and stand roughly 6 metres below Anchor 3.
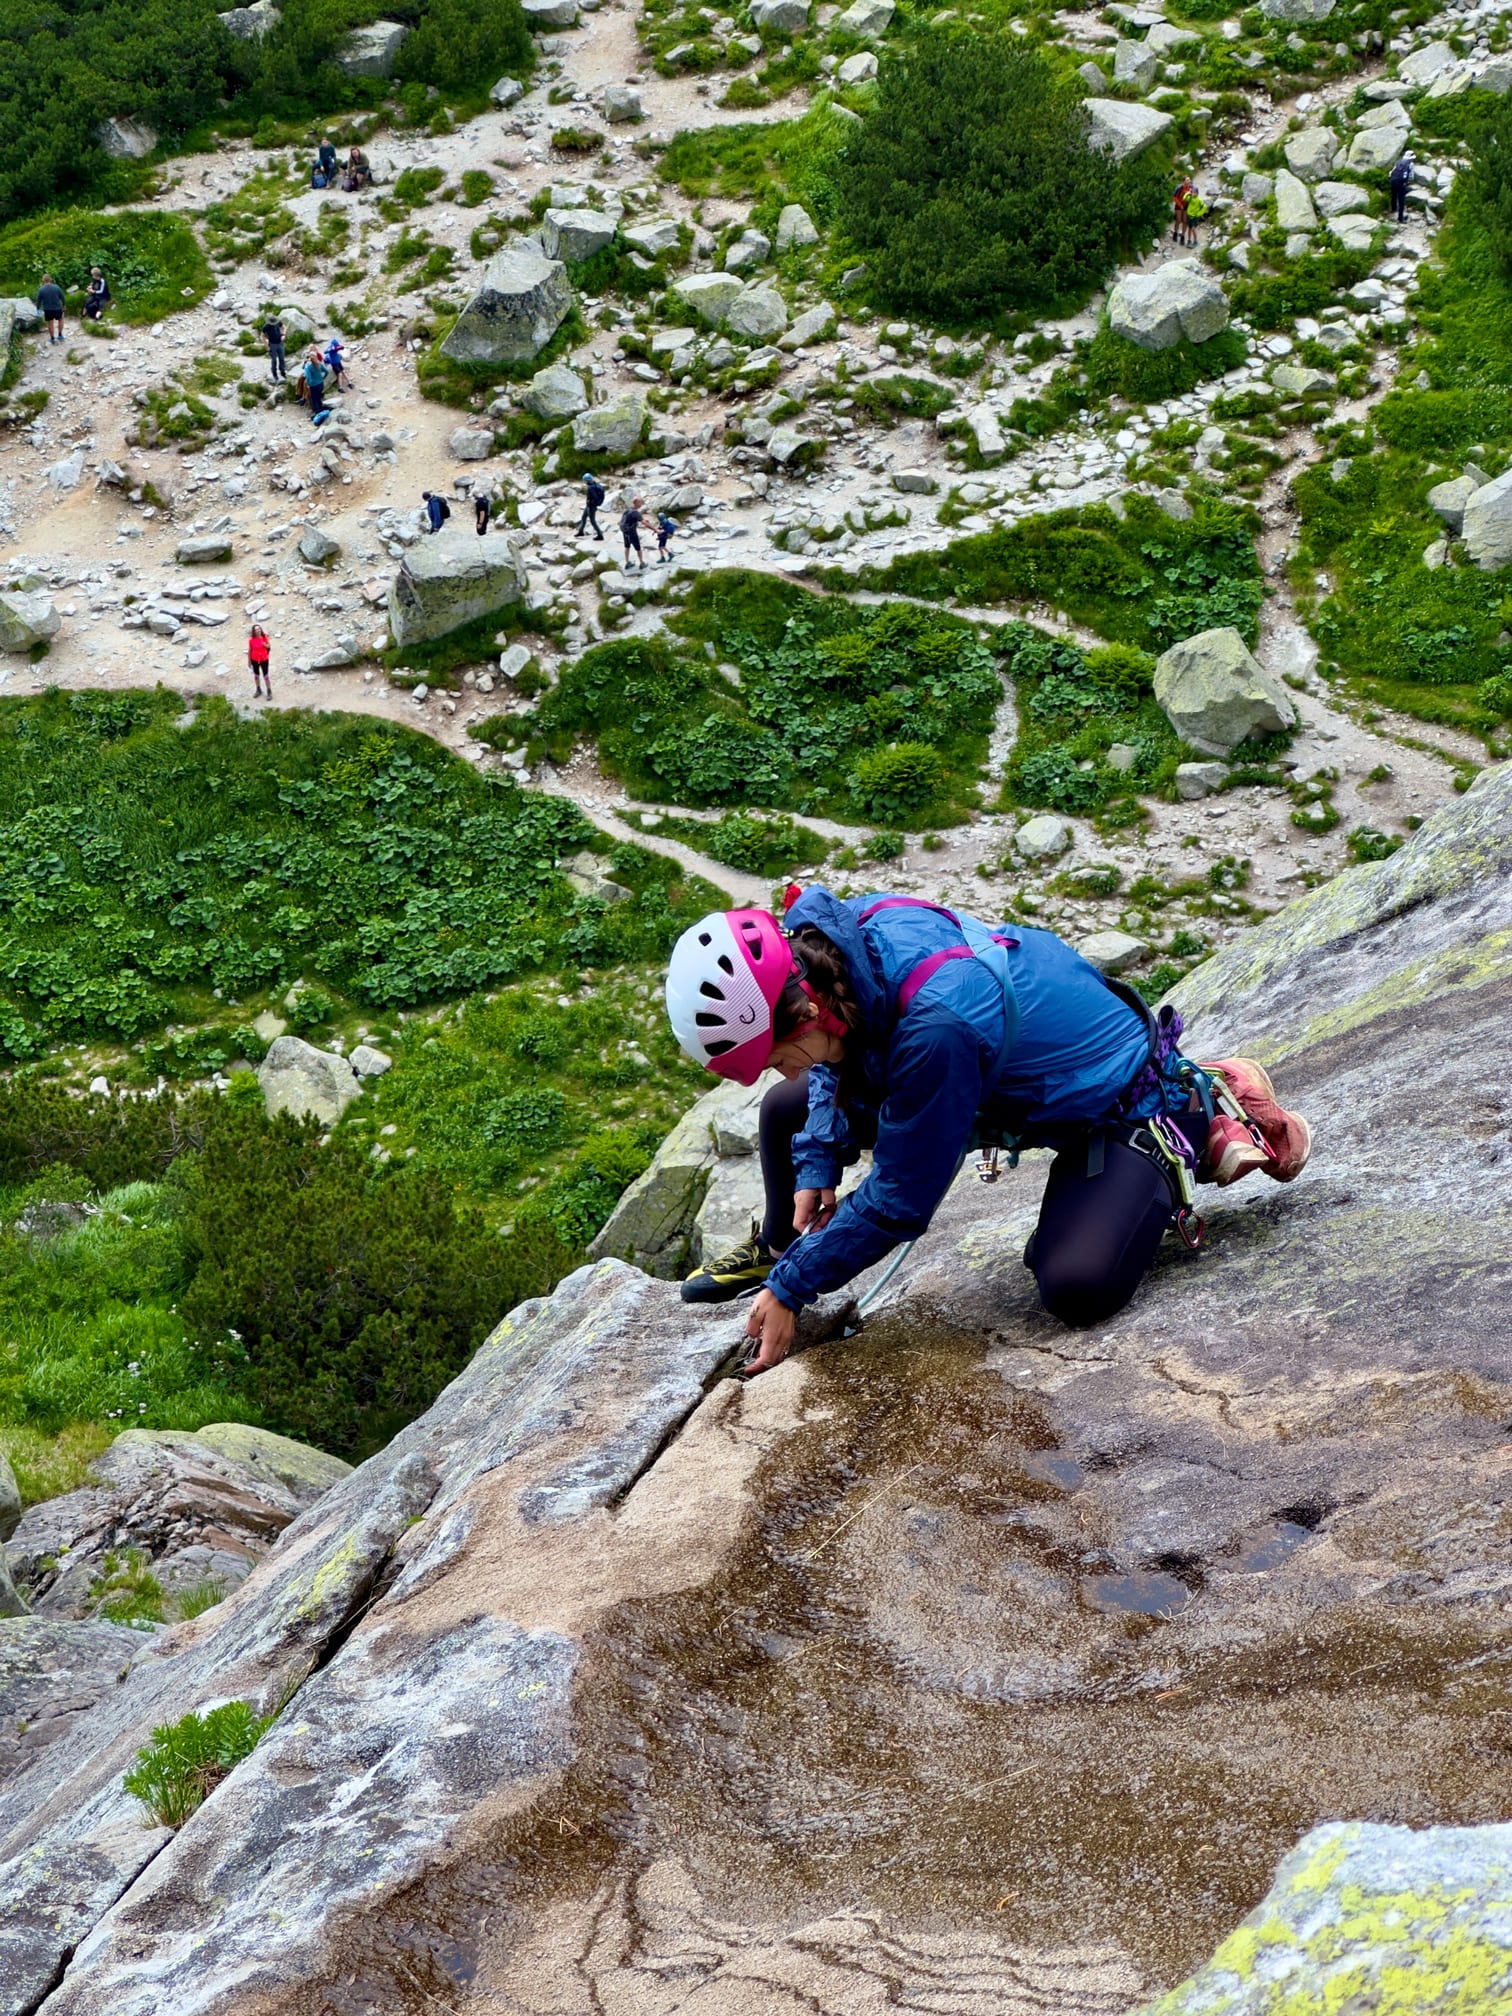
Pitch 3, grade III-, 32 m
We continue up a pillar to the right of the grass and dwarf pines (grade II). After about 17 metres we find large rocks that form clock-like shapes in two spots. 120 cm slings work well for protection here. Above this spot we climb a low-angle slab to the anchor, which is on the left near the dwarf pines (grade III).
Climbers can see each other. Anchor 3 isn't visible from Anchor 2.
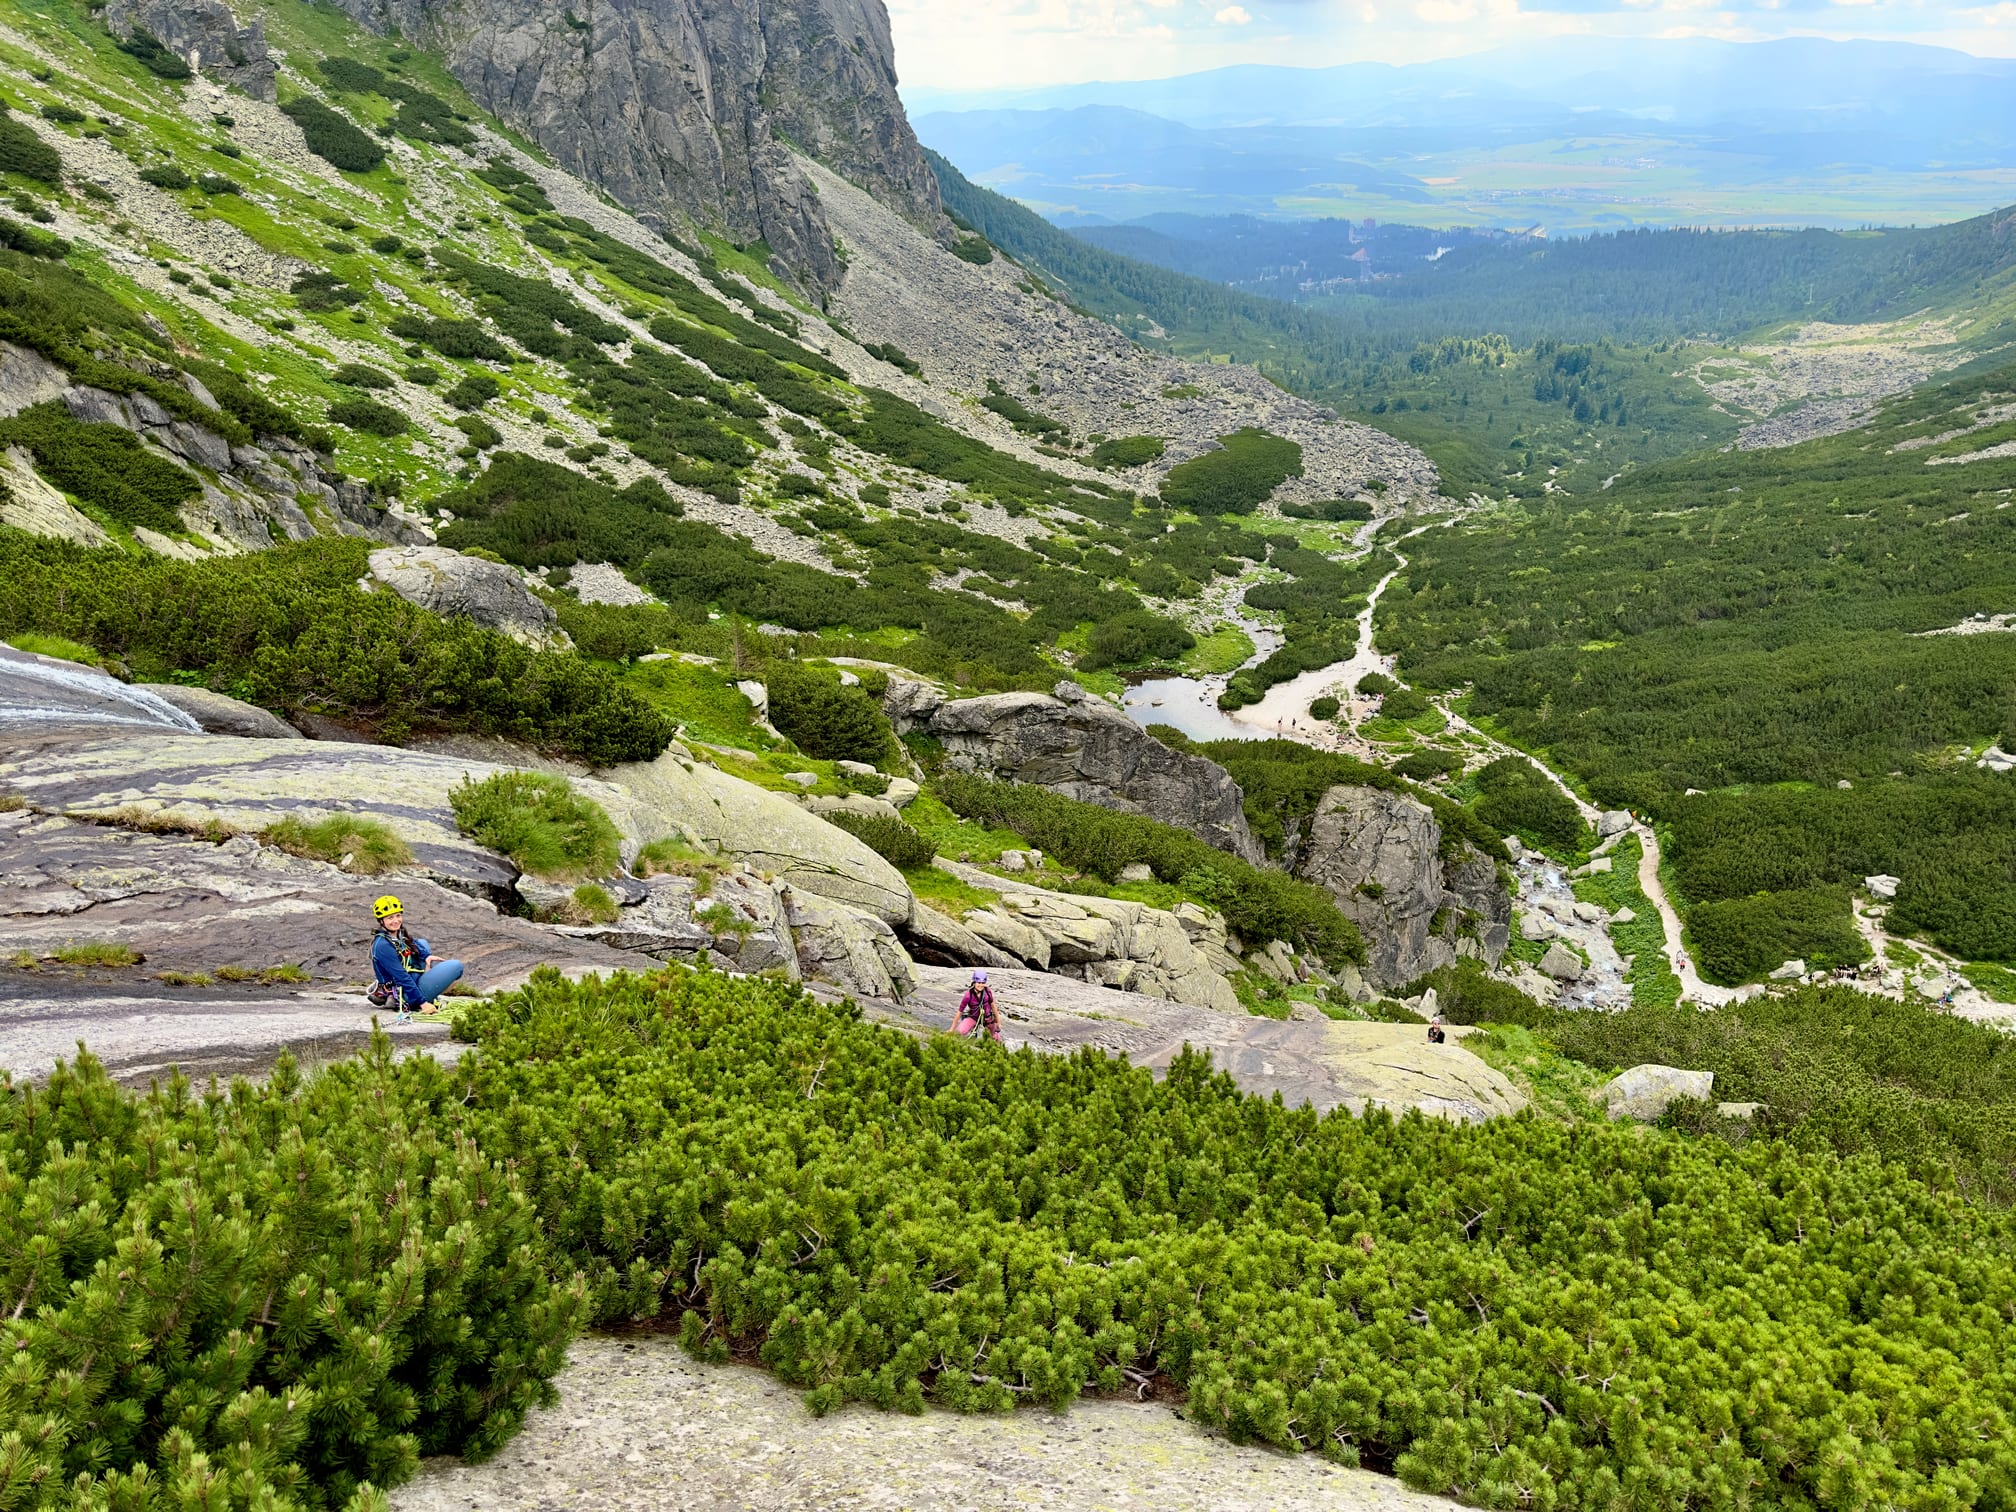
Pitch 4, grade CH, 20 m
The final part of the climb consists of enormous, almost horizontal rock slabs. It's walking terrain, but it can be treacherous if the slabs are wet or coated in a layer of ice. That's why, about 10 metres from the third anchor, there's one more protection piton on the fourth pitch, still in walking terrain. At the very top of the waterfall there's no more protection at all. If needed, the climber has to build their own.
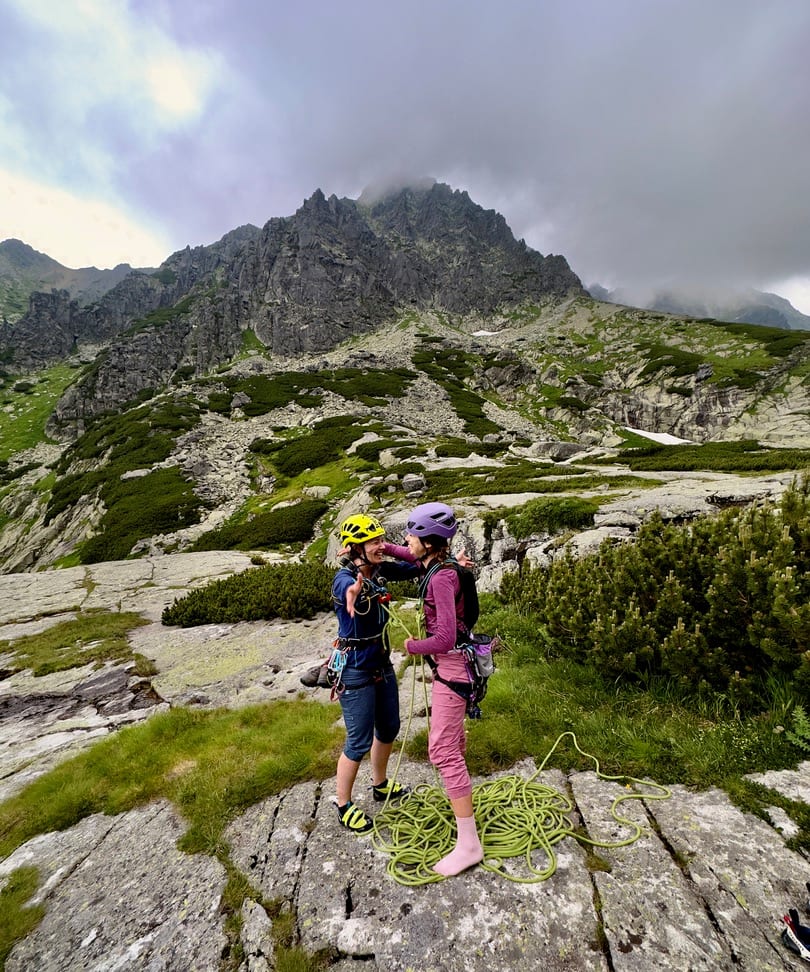
How to belay from the anchor?
At the anchor, the lead climber first secures themselves with a clove hitch into the upper bolt's carabiner. This lets them adjust their distance from the anchor. Using a daisy chain-style sling as a tether isn't recommended. Next comes the command "Off belay!", to which the belayer replies with the intermediate command "Taking you off!", then waits a moment and listens for any objection from the lead climber. They then take the climber off belay and announce it with the command "Off!". The lead climber must confirm receiving the information that they're no longer belayed with the command "OK" or "Got it."
The lead climber pulls up the rope. They clip it correctly into their belay device (see the video) and clip that device with a second carabiner into the anchor's lower ring. Belaying this way is self-locking. It rules out the error of not holding the rope, but doesn't allow the second climber to be lowered easily. Wherever there's a chance you might need to lower the second climber, always choose a Munter hitch and an HMS carabiner instead!
Beginners belaying a second climber from the anchor usually make two fatal mistakes. They belay off their harness (not from the anchor), or they clip the belay device into the anchor with a single carabiner, without a self-locking effect. Both mistakes can cause the second climber's death, even from something as simple as weighting the rope!
After checking the belay, the belayer gives the second climber the command "Belay on!" and confirms it by simultaneously pulling in the rope to its maximum. The second climber replies with "Climbing!", removes their clove-hitch tether at the anchor, waits for the rope to be taken in, and starts climbing. They never climb before feeling that the lead climber is actually taking in the rope!
With correct anchor setup on the Protiprúd route, the lead climber always has eye contact with the second climber. But you need to set up the rope and your position at the anchor correctly for that. Shout commands loudly, with eye contact, facing your climbing partner. Otherwise, because of the roar of the waterfalls, and sometimes the wind too, you won't hear each other!
Once at the anchor, the second climber secures themselves with a clove hitch. They hand the gear to the lead climber and clip themselves into the belay. They confirm this with the command "Belay on!". The lead climber checks the belay and switches the anchor's first bolt from the clove hitch to become the first piece of protection (removing the clove hitch). When belaying off the harness, the first piece of protection should be roughly two metres from the belayer's belay device.
This procedure repeats at every anchor. Always use locking carabiners for belaying and for tethering in!
Descent
We continue on walking terrain, over enormous horizontal rock slabs, to Pleso nad Skokom. Along its south shore we join the yellow-marked hiking trail.
Time required
- Approach to the waterfall from Štrbské Pleso: 55 minutes
- The climb: 1 hour 30 minutes
- Descent: 30 minutes
- Return to Štrbské Pleso: 50 minutes
- If you finish the climb within these times, you can head straight on to Anjelský hang.
These times apply to a two-person climbing team. For a party of three, or for beginners, it may take several hours longer!
Gear
- a sit harness and chest harness
- a helmet
- a single 60 m rope
- 8 quickdraws
- 2 slings with carabiners
- 6 locking carabiners and 2 HMS carabiners
- a belay/rappel device for each climber (for example a Gigi or a Jul)
- 8 cams - basic as well as tiny sizes
- comfortable climbing shoes or approach shoes
- a first-aid kit with a thermal reflective blanket
- a headlamp
- a thermos with warm tea
- food for the field
- clothing to protect against cold and rain
- a mobile phone with a charged battery
- a topo with a route description
- crampons and an ice axe (early in summer)
Video
This page has been translated using AI and may contain errors.